<img loading=“lazy” src=“https://www.errenskitchen.com/wp-content/uploads/2025/04/buttermilk-waffles-3-683x1024.jpg" onerror=“this.onerror=null;this.src=‘https://blogger.googleusercontent.com/img/a/AVvXsEhe7F7TRXHtjiKvHb5vS7DmnxvpHiDyoYyYvm1nHB3Qp2_w3BnM6A2eq4v7FYxCC9bfZt3a9vIMtAYEKUiaDQbHMg-ViyGmRIj39MLp0bGFfgfYw1Dc9q_H-T0wiTm3l0Uq42dETrN9eC8aGJ9_IORZsxST1AcLR7np1koOfcc7tnHa4S8Mwz_xD9d0=s16000';" alt=“A stack of fluffy buttermilk waffles topped with melting butter and syrup being poured over them, with the text “Fluffy Golden Buttermilk Waffles” and a five-star rating at the bottom. - 2”>
<img loading=“lazy” src=“https://www.errenskitchen.com/wp-content/uploads/2025/04/buttermilk-waffles-1-1-683x1024.jpg" onerror=“this.onerror=null;this.src=‘https://blogger.googleusercontent.com/img/a/AVvXsEhe7F7TRXHtjiKvHb5vS7DmnxvpHiDyoYyYvm1nHB3Qp2_w3BnM6A2eq4v7FYxCC9bfZt3a9vIMtAYEKUiaDQbHMg-ViyGmRIj39MLp0bGFfgfYw1Dc9q_H-T0wiTm3l0Uq42dETrN9eC8aGJ9_IORZsxST1AcLR7np1koOfcc7tnHa4S8Mwz_xD9d0=s16000';" alt=“A collage showing golden buttermilk waffles topped with butter and maple syrup, with one image featuring syrup being poured. The text reads “Erren’s Kitchen” and “homemade Fluffy Waffles. - 4”>
<img loading=“lazy” src=“https://www.errenskitchen.com/wp-content/uploads/2025/04/buttermilk-waffles-5-683x1024.jpg" onerror=“this.onerror=null;this.src=‘https://blogger.googleusercontent.com/img/a/AVvXsEhe7F7TRXHtjiKvHb5vS7DmnxvpHiDyoYyYvm1nHB3Qp2_w3BnM6A2eq4v7FYxCC9bfZt3a9vIMtAYEKUiaDQbHMg-ViyGmRIj39MLp0bGFfgfYw1Dc9q_H-T0wiTm3l0Uq42dETrN9eC8aGJ9_IORZsxST1AcLR7np1koOfcc7tnHa4S8Mwz_xD9d0=s16000';" alt=“A stack of fluffy buttermilk waffles topped with melting butter and syrup on a white plate. The text reads: “Erren’s Kitchen Homemade Buttermilk Waffles. - 8”>
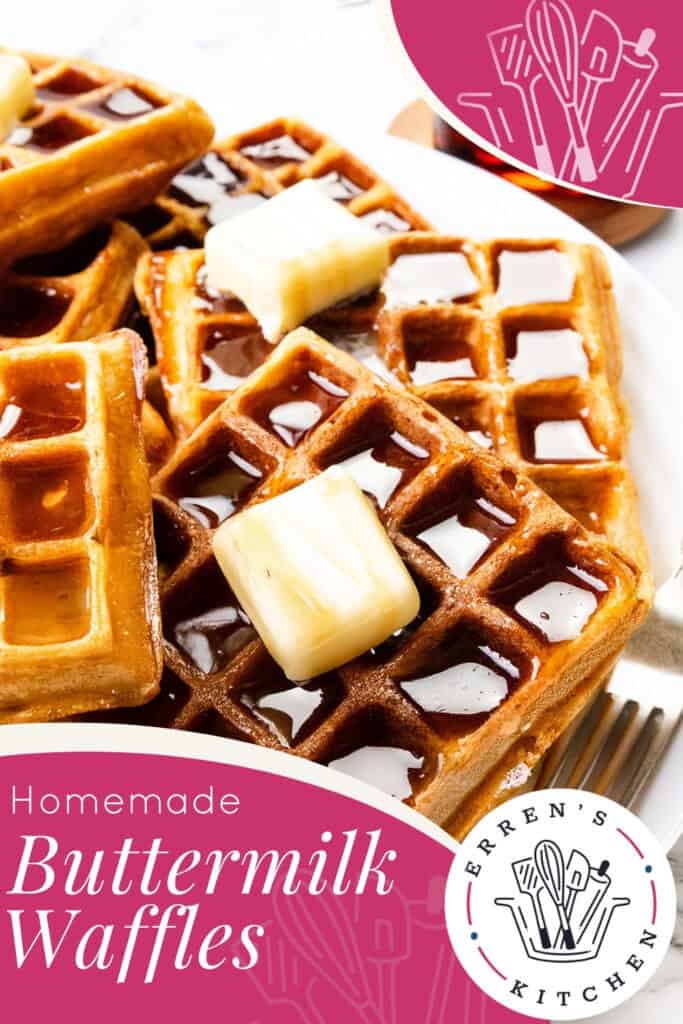
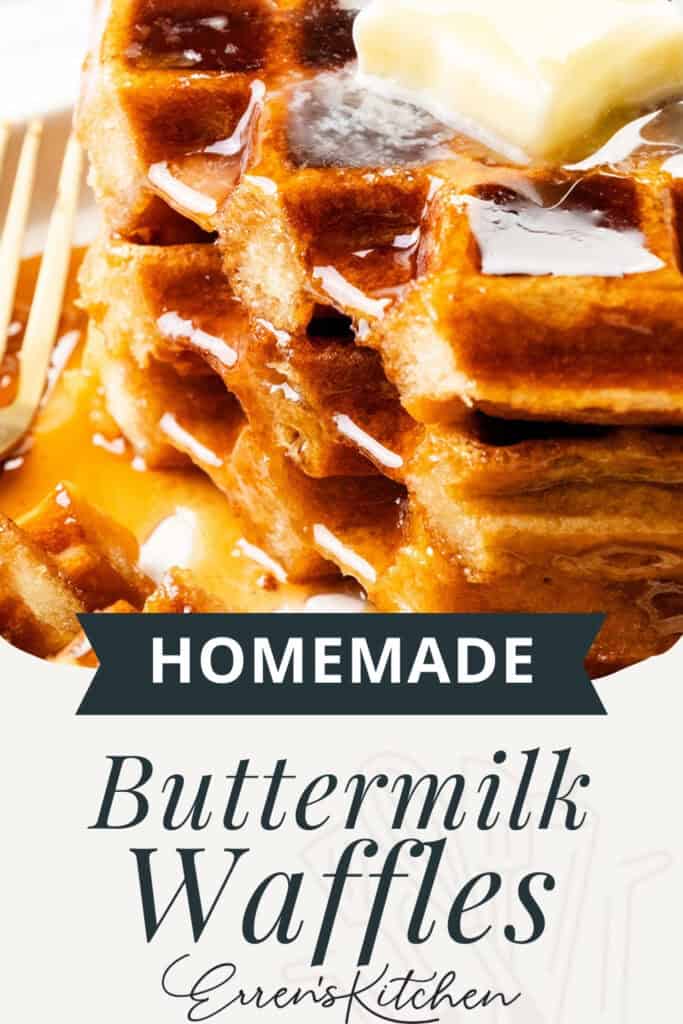
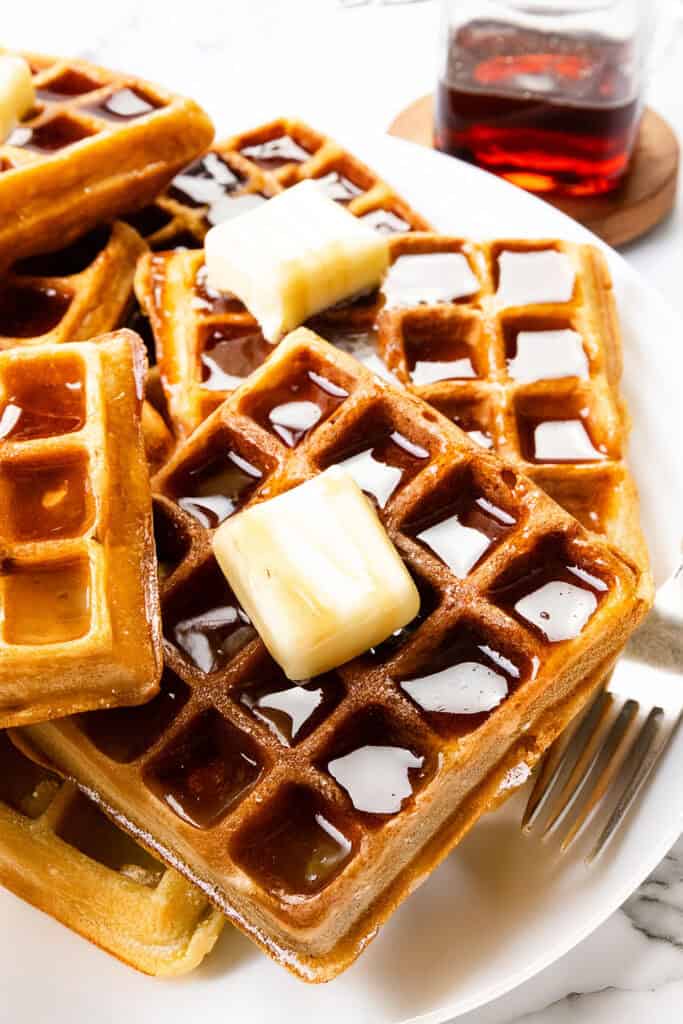
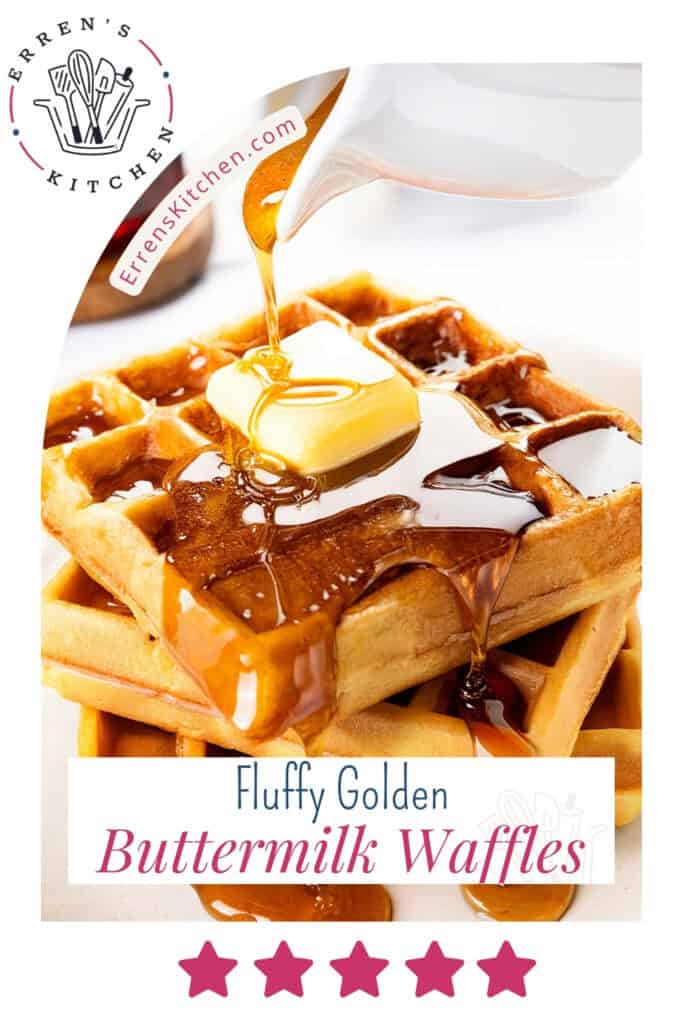
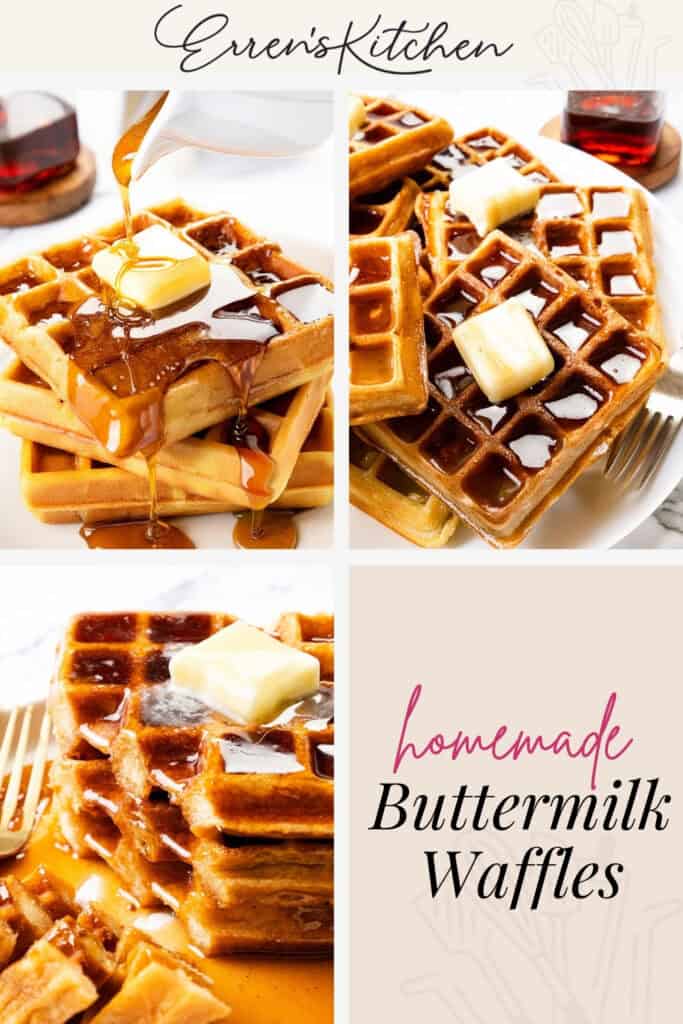
Fluffy, golden buttermilk waffles with crispy edges and rich vanilla flavor—perfect for breakfast or brunch any day!
in this article:
- Know Before You Scroll
- My Weekend Love Language
- Step By Step Instructions
- Perfect Pairings
- Buttermilk Waffles
- Erren’s Top Tips
- Storage & Freezing Instructions
- FAQs
Know Before You Scroll

Serves
4 people
Prep Time
10 mins
Cook Time
20 mins
Total Time
30 mins
Flavor Profile
Buttery, golden waffles with crisp edges and fluffy insides, kissed with a hint of vanilla and just the right amount of sweetness. Cozy breakfast vibes all the way.
Difficulty Level
Easy. If you can whisk and pour, you’ve got this. Perfect for beginners or lazy Sunday chefs.
Equipment Needed
All-purpose flour, granulated sugar, baking powder, baking soda, salt, large eggs, buttermilk, unsalted butter, vanilla extract.
Top Tip
Don’t overmix the batter! A few lumps are totally fine—overmixing is the fast track to dense waffles.
Time-Saving Tips
Use a large liquid measuring cup to pour the batter into the waffle iron—less mess, more waffles, faster.
Ingredient Swaps
No buttermilk? Mix 1¾ cups of milk with 1½ tablespoons of lemon juice or vinegar and let it sit for 5 minutes. Boom—DIY buttermilk.
Life Hack
Double or triple the recipe to make extra buttermilk waffles to freeze and reheat in the toaster for an easy breakfast another day.
My Weekend Love Language
I’ve made these buttermilk waffles more times than I can count, and honestly? I’m not even mad about it. They are everything I want in a weekend breakfast: golden and crisp on the outside, soft and fluffy on the inside, with just the right hint of buttery vanilla sweetness. Saturday mornings basically demand these.
You can find the full, printable recipe at the top of this post , but you can read the detailed instructions with photos for each step below.
Step By Step Instructions
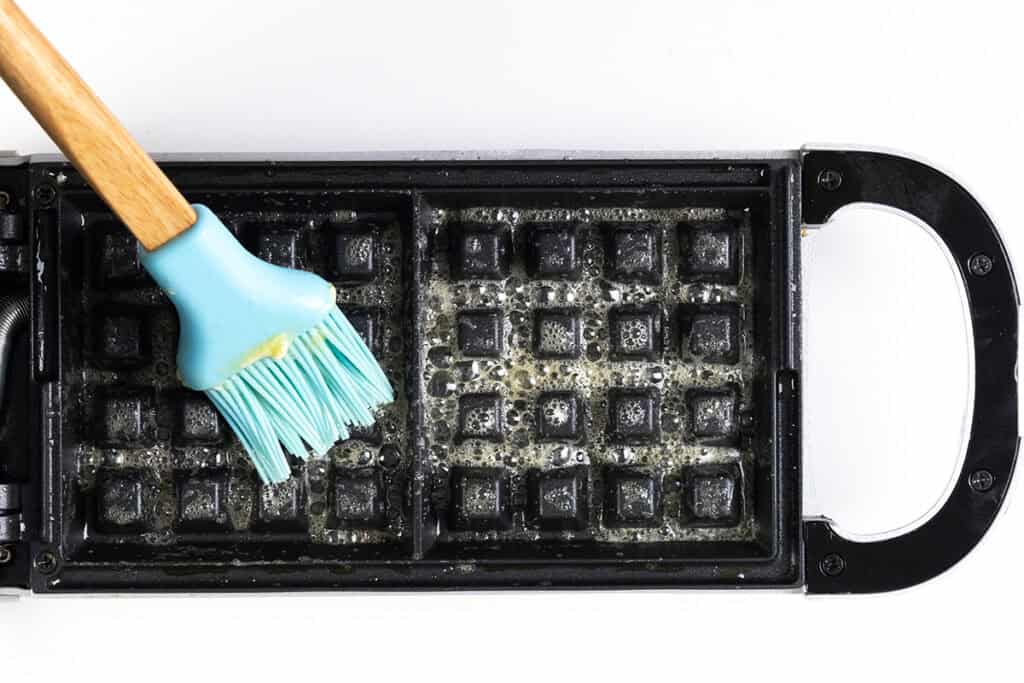
1
Start With a Hot Waffle Iron
First things first: get your waffle iron heating up. This is key for achieving that crispy-on-the-outside, fluffy-on-the-inside texture that makes waffles so magical. Give it a quick spritz of nonstick spray or brush with melted butter so your waffles release like a dream. While that’s happening, take a minute to dance in your kitchen or sip some coffee — this is gonna be good.
2
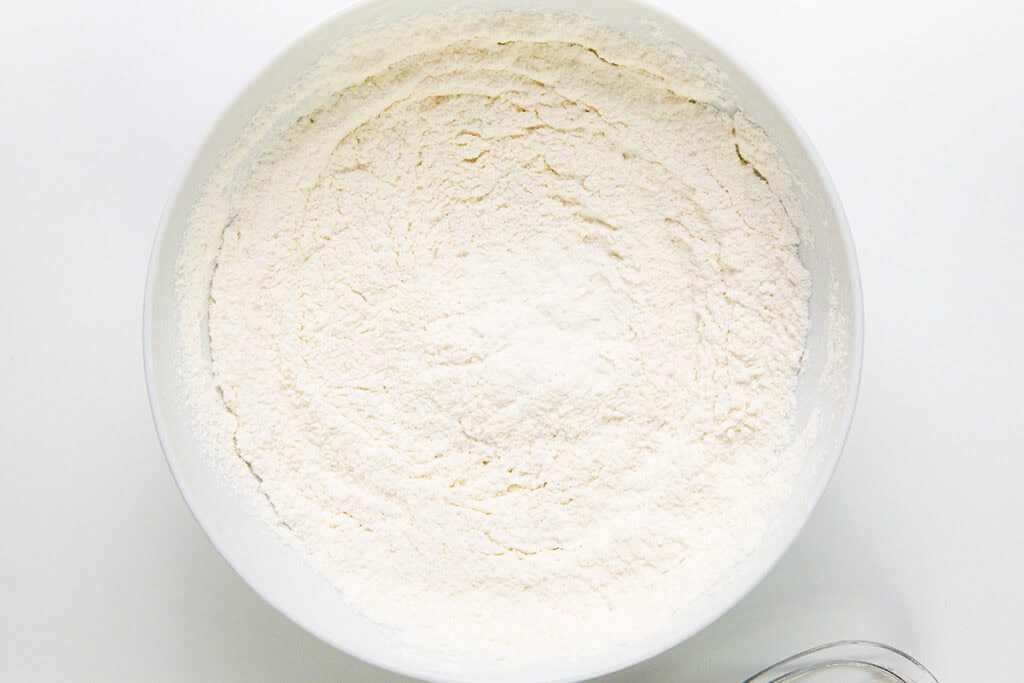
Whisk Up the Dry Ingredients
In a big mixing bowl, whisk together the dry stuff: flour, sugar, baking powder, baking soda, and salt. Just five pantry staples, but they set the stage for all the buttery, golden glory to come. Don’t skip the sugar — it helps with browning and adds that hint of sweetness that balances everything out.
3
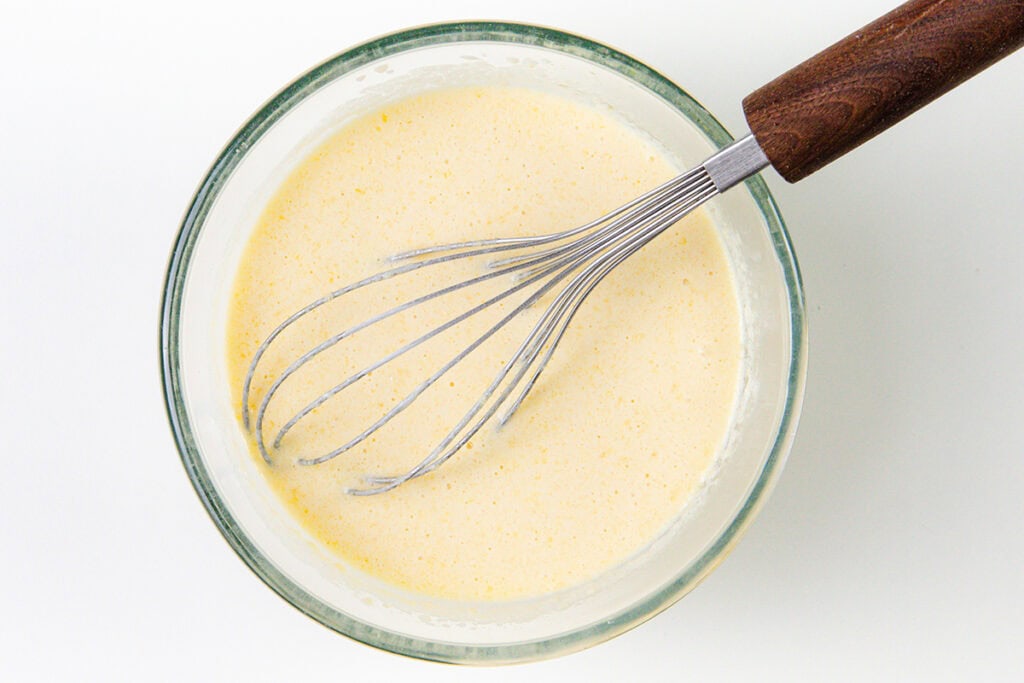
Buttermilk Magic in a Bowl
In a separate bowl, you’ll whisk together the wet ingredients: eggs, buttermilk, melted butter, and a splash of vanilla extract. The buttermilk brings that classic tang and helps the waffles stay super tender, while the vanilla gives everything a warm, cozy flavor. Melted butter adds richness — and let’s be honest, it just makes everything better.
4
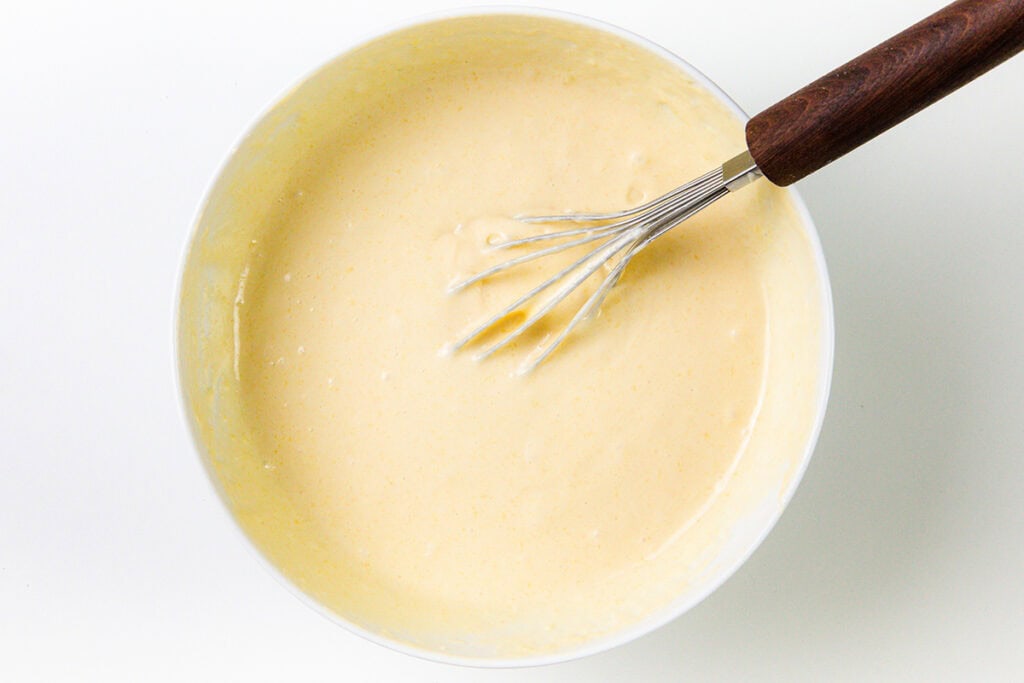
Mix It All Together (But Keep It Gentil)
Now pour the wet ingredients into the dry and stir gently until just combined. This is not the time for overachieving. A few lumps are totally okay — in fact, they’re perfect. Overmixing can make your waffles tough, and we are going for fluffy, melt-in-your-mouth goodness.
5
Into the Waffle Maker They Go
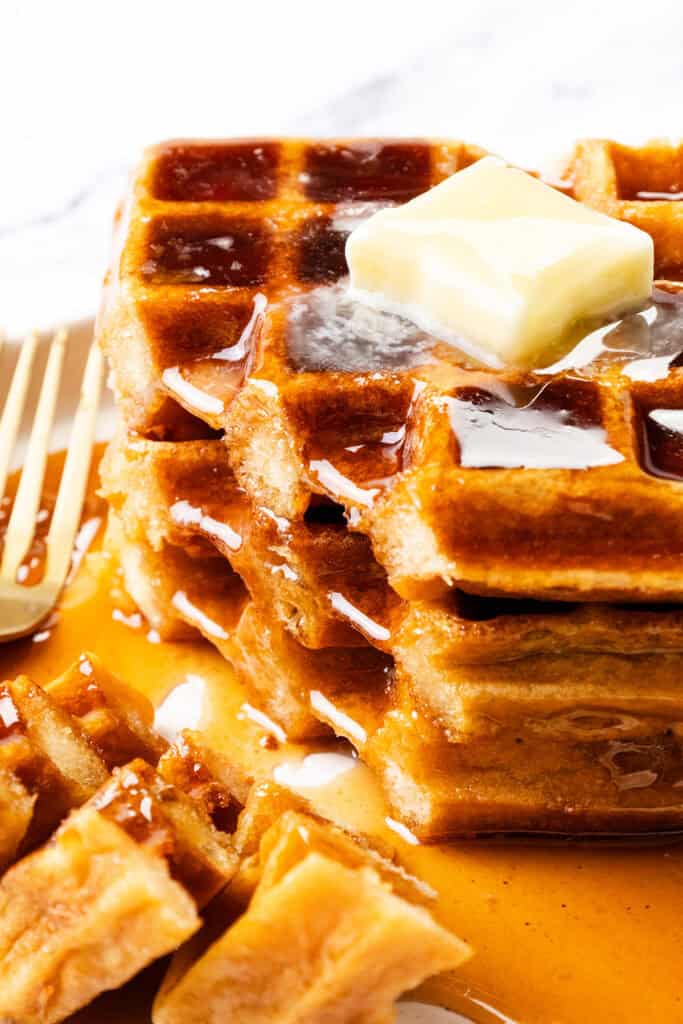
Scoop the batter into your preheated waffle iron and let it do its thing. Cook according to your machine’s instructions — usually around 3 to 5 minutes. You’ll know they’re done when they’re deeply golden and crisp on the outside. Resist the urge to peek too soon! Let them fully cook for the best texture and color.
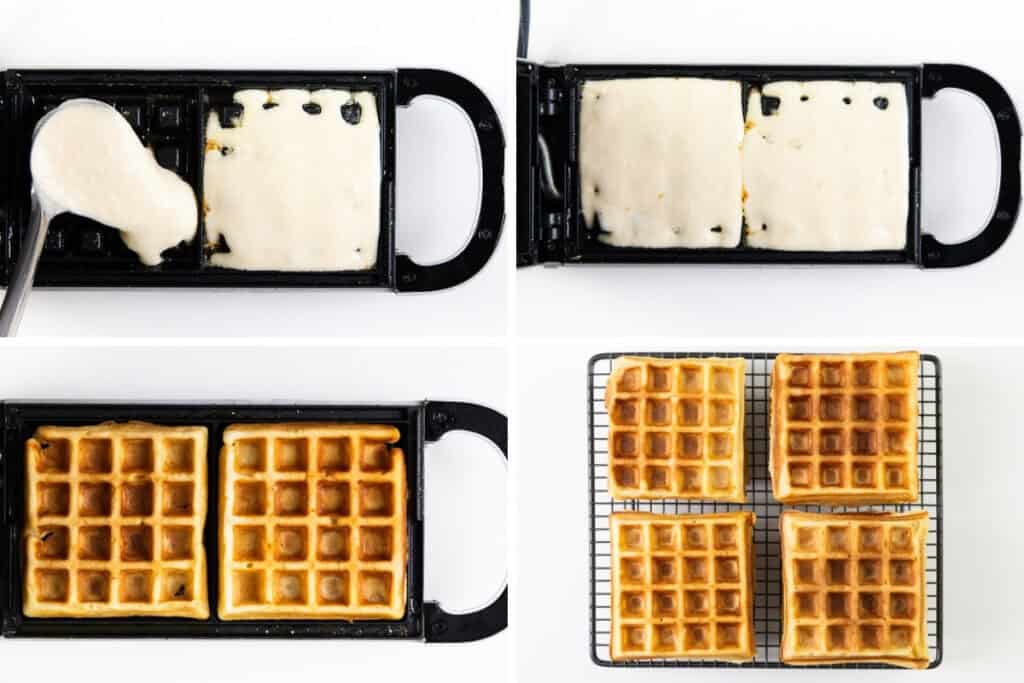
If you’re making waffles for a crowd (or just batch-prepping your future breakfasts — we see you), keep the finished waffles warm in a 200°F oven. Place them right on the oven rack or on a baking sheet lined with a wire rack so air can circulate. This keeps the crispness locked in and prevents sogginess.
5
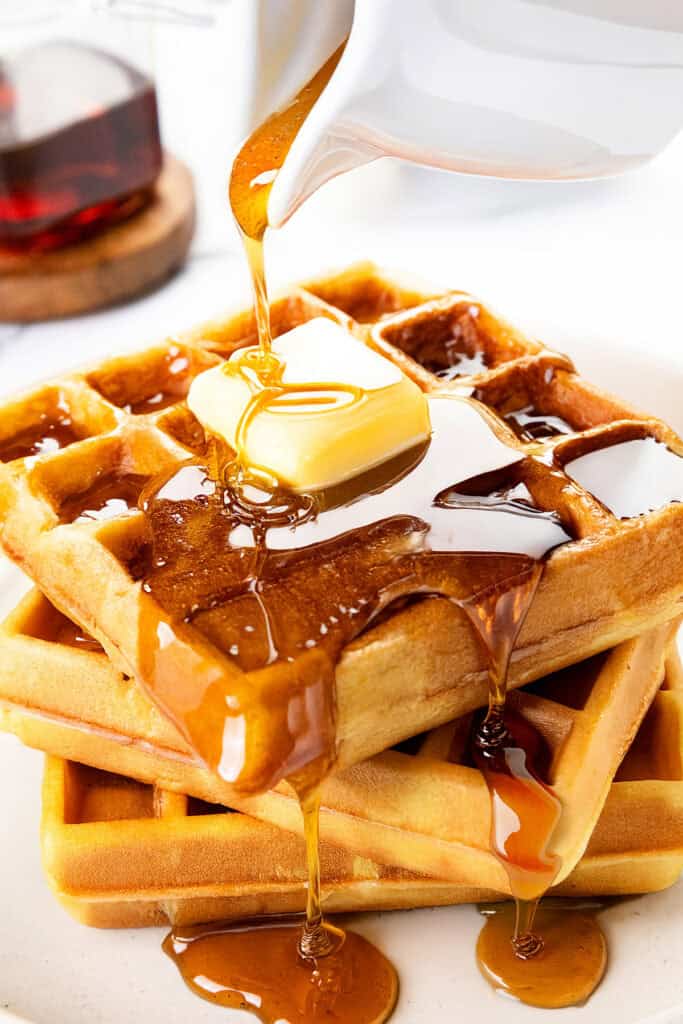
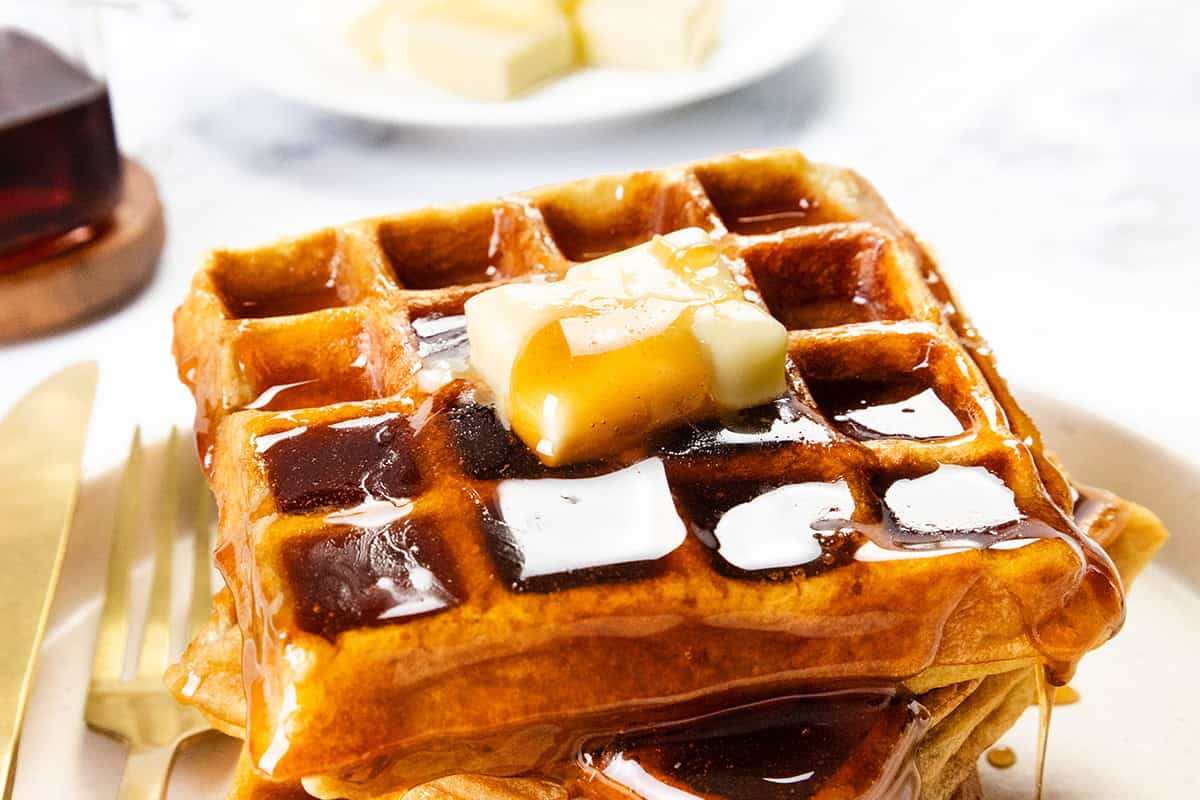
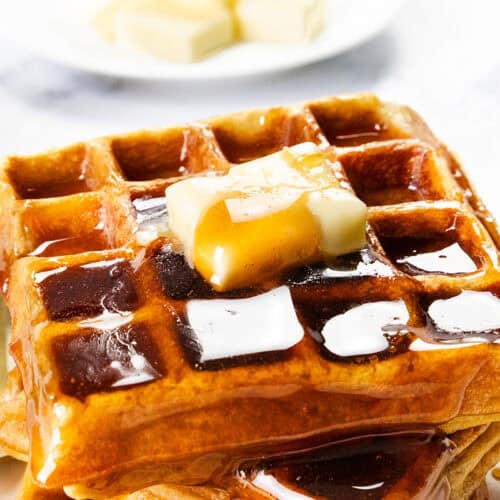
Serve with All the Toppings
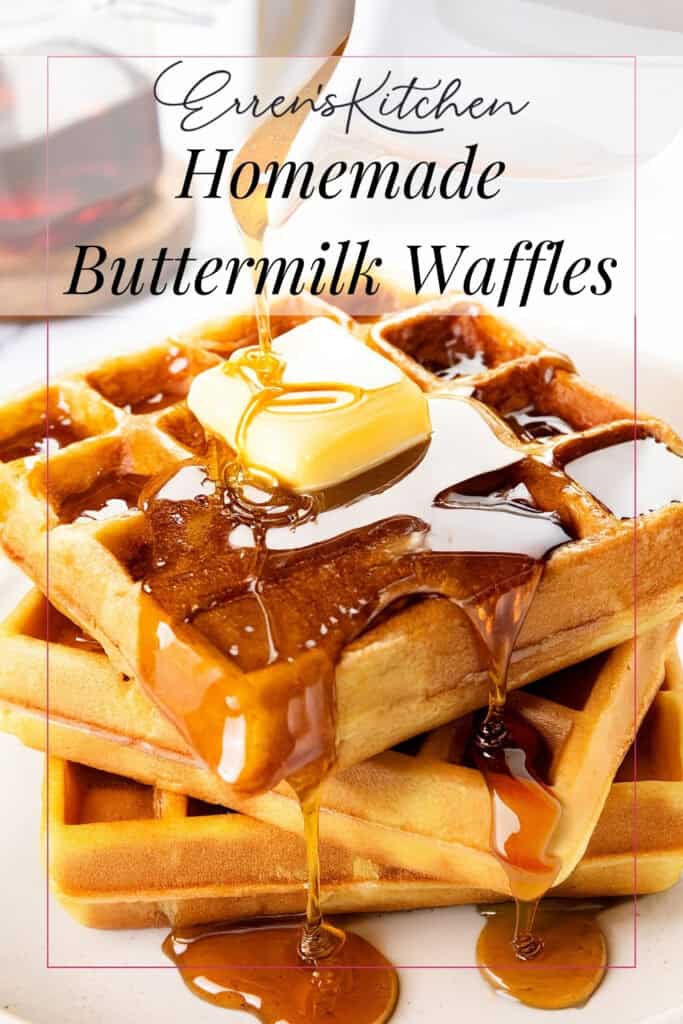
Time to plate up! These waffles are made for drizzling, dolloping, and piling high. Think classic maple syrup, fresh berries, whipped cream, a dusting of powdered sugar, or maybe even a swipe of nut butter. However you top them, these waffles are soft and buttery on the inside, golden and crisp on the outside, and total breakfast bliss.
Perfect Pairings
- Macerated Strawberries with Sugar
- Stabilized Whipped Cream
- Strawberry Jam Preserves
Ingredients
- ▢ 2 cups all-purpose flour
- ▢ 3 tablespoons granulated sugar
- ▢ 1½ teaspoons baking powder
- ▢ ½ teaspoon baking soda
- ▢ ½ teaspoon salt
- ▢ 2 large eggs
- ▢ 1¾ cups buttermilk
- ▢ ½ cup unsalted butter (melted and cooled)
- ▢ 2 teaspoons vanilla extract
Instructions
- Preheat your waffle iron according to the manufacturer’s instructions.
- Lightly grease the waffle iron with non-stick spray or melted butter.
- In a large bowl, whisk together the flour, sugar, baking powder, baking soda, and salt.
- In a separate bowl, whisk the eggs, then add the buttermilk, melted butter, and vanilla extract. Mix until smooth.
- Pour the wet ingredients into the dry ingredients, stirring gently until just combined.
- Do not overmix—a few lumps are okay. Overmixing can make the waffles dense instead of fluffy.
- Pour the batter onto the preheated waffle iron (the amount depends on your waffle maker size).
- Close the lid and cook according to the waffle maker’s instructions, usually 3–5 minutes, or until golden brown and crisp.
- Place the cooked waffles on a wire cooling rack set over a baking sheet, then keep them warm in a 200°F (95°C) oven while you finish cooking the rest.
- Serve the waffles warm with your favorite toppings.
Tips
Erren’s Top Tips
Storage & Freezing Instructions
Nutrition
Can I use regular milk instead of buttermilk?
Yes, but you’ll lose some of the signature tang and tenderness. You can make a DIY version by adding a tablespoon of lemon juice or vinegar to milk and letting it sit for 5 minutes.
Why are my waffles soggy?
This usually means the waffle iron wasn’t hot enough or the waffles were stacked after cooking. Use a wire rack and a low oven to keep them crisp!
Can I make the batter ahead of time?
It’s best made fresh, but if needed, you can mix the dry and wet ingredients separately the night before and combine in the morning. Batter made too far in advance may lose its lift.
Can I add mix-ins like berries or chocolate chips?
Yes, but sprinkle them onto the batter after you pour it into the waffle iron. Adding them directly to the batter can lead to uneven distribution or sticking.
Do I need to use unsalted butter?
Yes! It helps you control the salt level. If you only have salted butter, reduce the added salt just a bit.

Buttermilk Waffles
Ingredients
- 2 cups all-purpose flour
- 3 tablespoons granulated sugar
- 1½ teaspoons baking powder
- ½ teaspoon baking soda
- ½ teaspoon salt
- 2 large eggs
- 1¾ cups buttermilk
- ½ cup unsalted butter melted and cooled
- 2 teaspoons vanilla extract
Instructions
- Preheat your waffle iron according to the manufacturer’s instructions.
- Lightly grease the waffle iron with non-stick spray or melted butter.
- In a large bowl, whisk together the flour, sugar, baking powder, baking soda, and salt.
- In a separate bowl, whisk the eggs, then add the buttermilk, melted butter, and vanilla extract. Mix until smooth.
- Pour the wet ingredients into the dry ingredients, stirring gently until just combined.
- Do not overmix—a few lumps are okay. Overmixing can make the waffles dense instead of fluffy.
- Pour the batter onto the preheated waffle iron (the amount depends on your waffle maker size).
- Close the lid and cook according to the waffle maker’s instructions, usually 3–5 minutes, or until golden brown and crisp.
- Place the cooked waffles on a wire cooling rack set over a baking sheet, then keep them warm in a 200°F (95°C) oven while you finish cooking the rest.
- Serve the waffles warm with your favorite toppings.
Video
Notes
Erren’s Top Tips
Storage & Freezing Instructions
Nutrition
Thank you for visiting Erren’s Kitchen!
