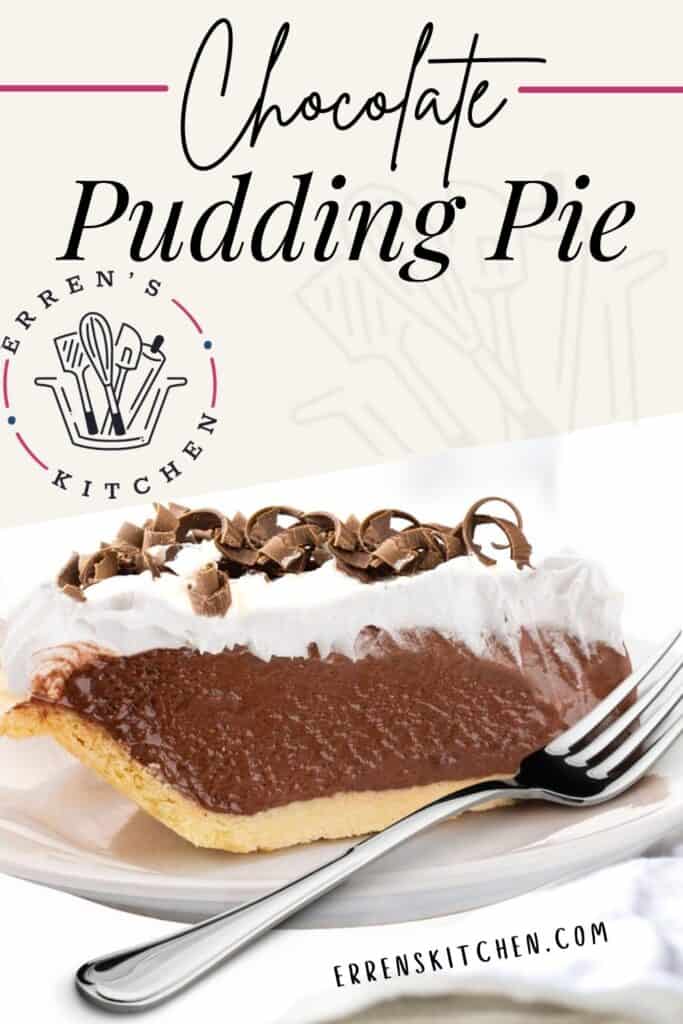
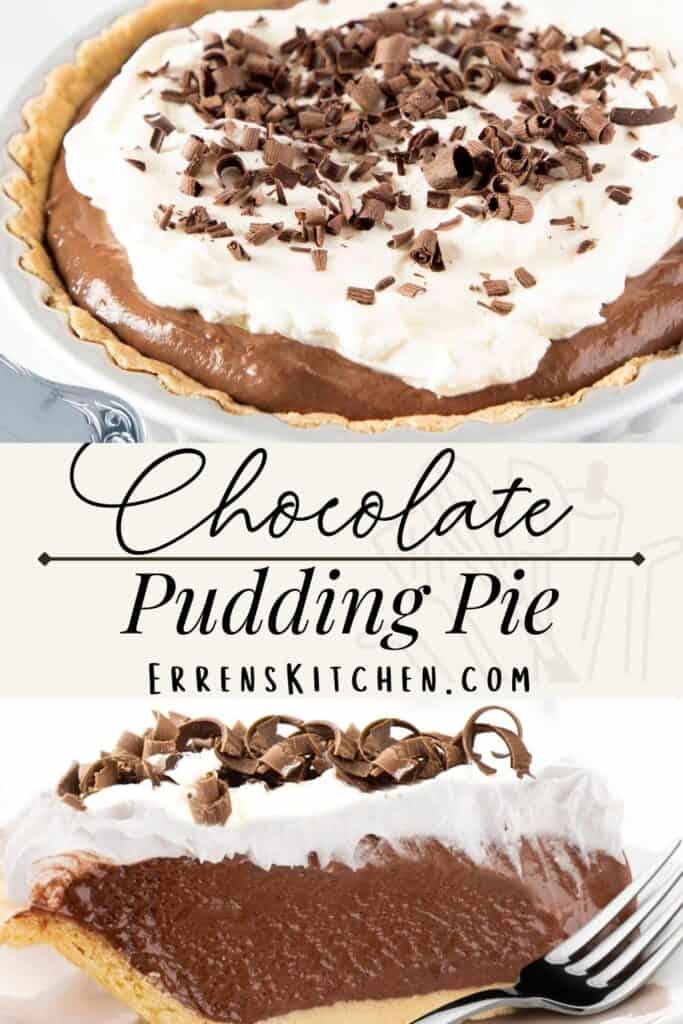

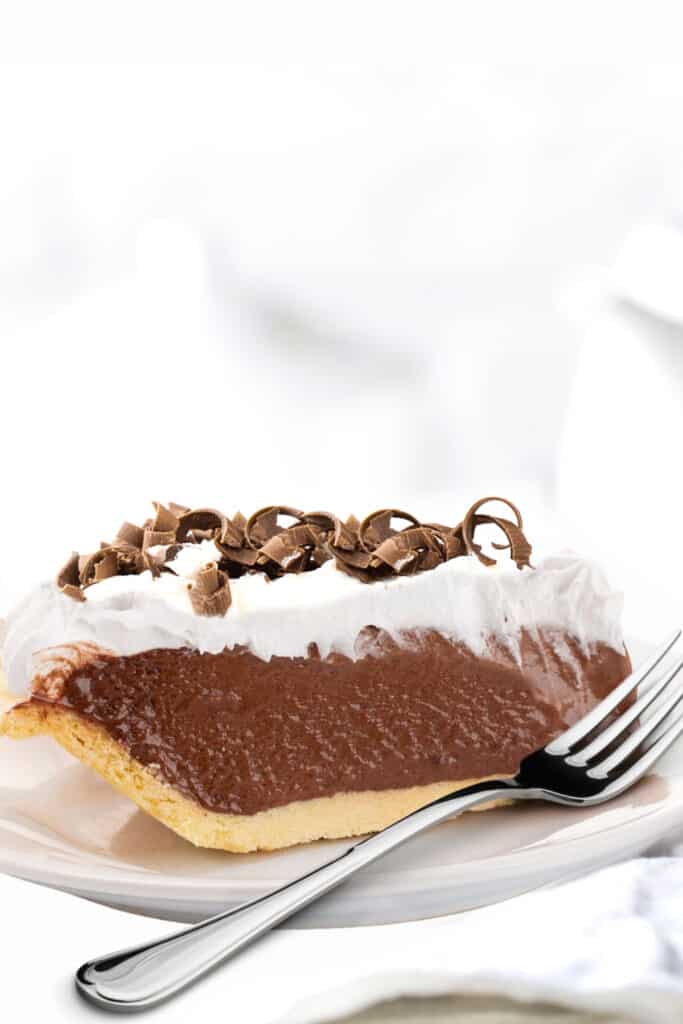
This simple, yet indulgent recipe for Chocolate Pudding Pie can be made with store-bought ingredients, homemade, or a combination of both.
This delicious Chocolate Pudding Pie can be made by anyone from beginners to seasoned bakers. It can be created using premade elements or entirely by scratch using my recipes for Chocolate Pudding , Whipped Cream , Graham Cracker Crust , or Shortbread Crust . Read on for my recommendations.
Choosing Chocolate Pudding Pie Components
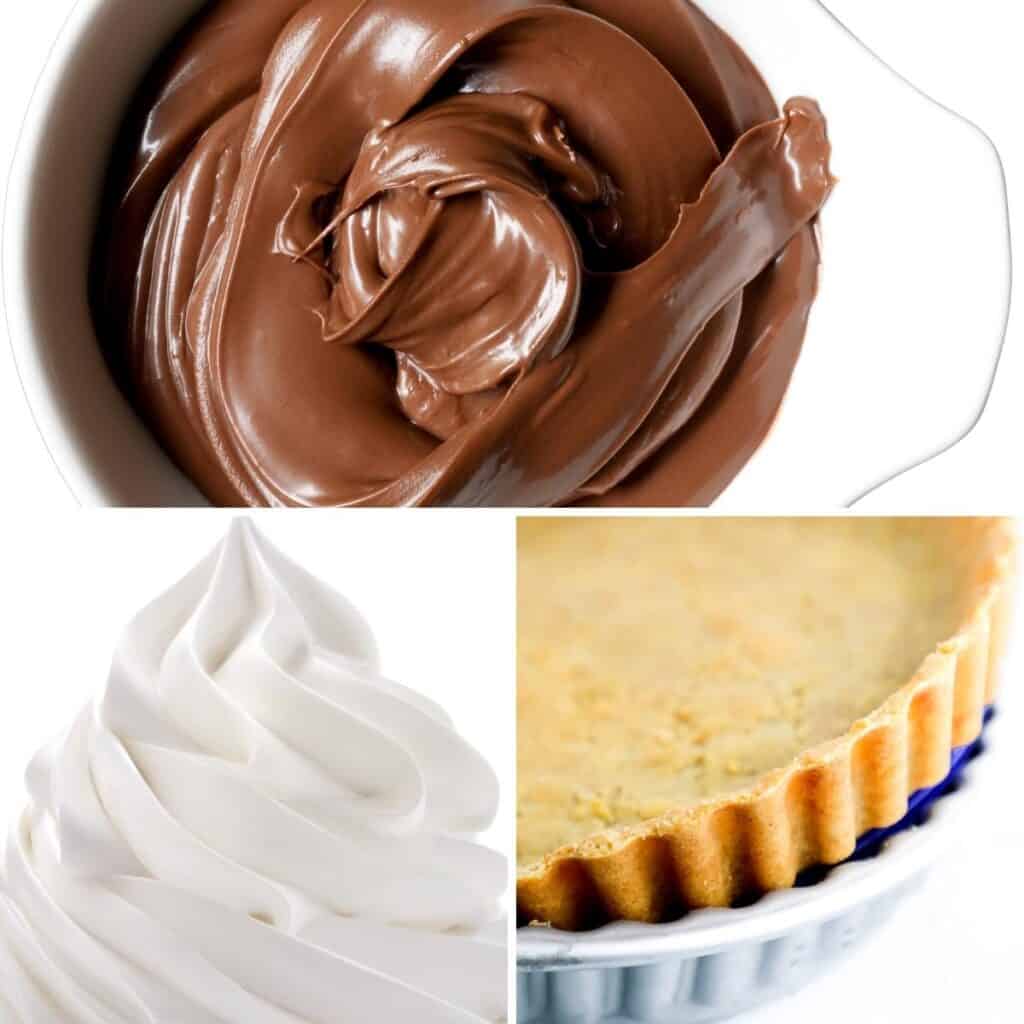
Chocolate Pudding Filling
My pie was made using my Chocolate Pudding recipe (with a few minor adjustments), but if you’re looking for something easier, use store-bought pudding mix. If you choose a pudding mix, I recommend preparing it using heavy cream instead of milk for a thicker pudding that will hold up to slicing.
Whipped Cream Topping
The whipped cream topping I used was my stabilized whipped cream recipe . It’s an easy, delicious recipe that doesn’t deflate, so it’s perfect for making the pie ahead. If you use store-bought whipped cream, add it just before serving, as it won’t hold up for long periods.
Crust Options
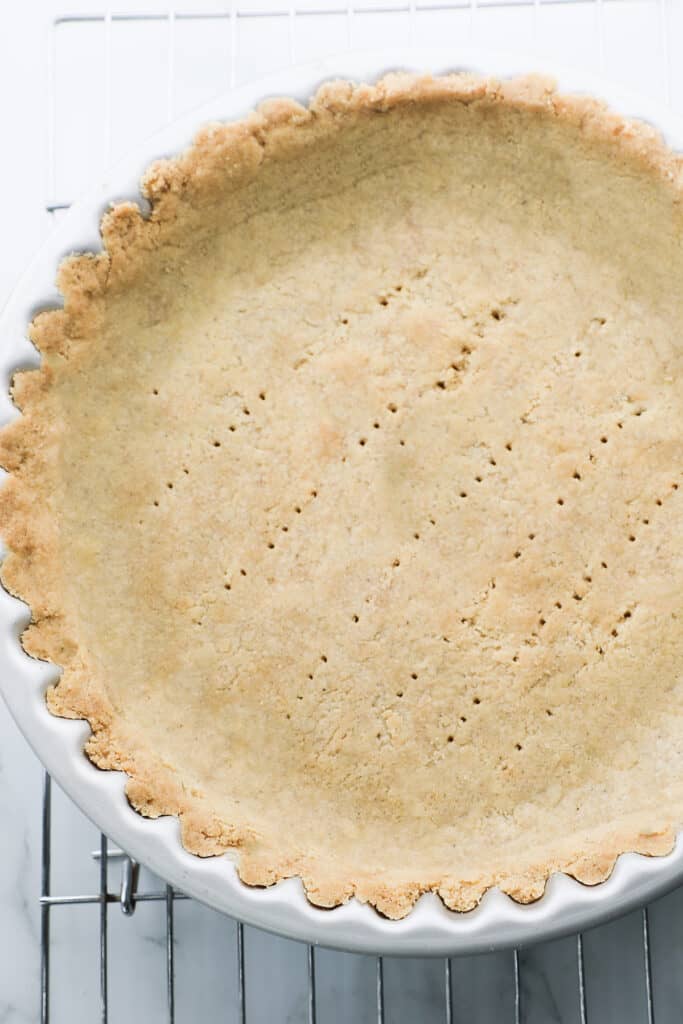
The pie pictured was assembled using my Shortbread Crust , but there are a few options for your crust . Graham cracker is also a good option. It’s simple to make from scratch (see my Banoffee Pie recipe), or you can buy premade. I also have an oreo cookie crust that’s great if you’re a chocolate fan. Traditionalists will love my Classic pie crust . It’s sold already rolled out in the freezer section of many supermarkets.
Step By Step Instructions
Prepare the crust and set it aside to cool.
If you’re using store-bought pudding mix, prepare it using heavy or whipping cream instead of milk for a thicker pudding.
If you’re making it from scratch, add the cocoa powder, salt, cornstarch, and sugar to a saucepan.
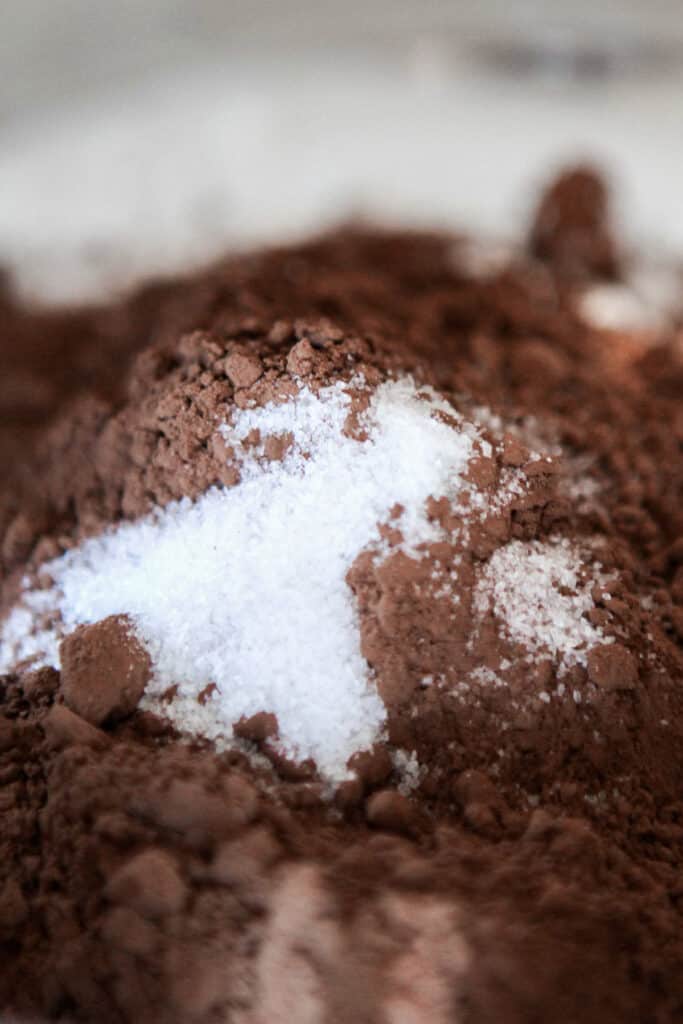
Then whisk it together with cream, egg yolks, and vanilla.
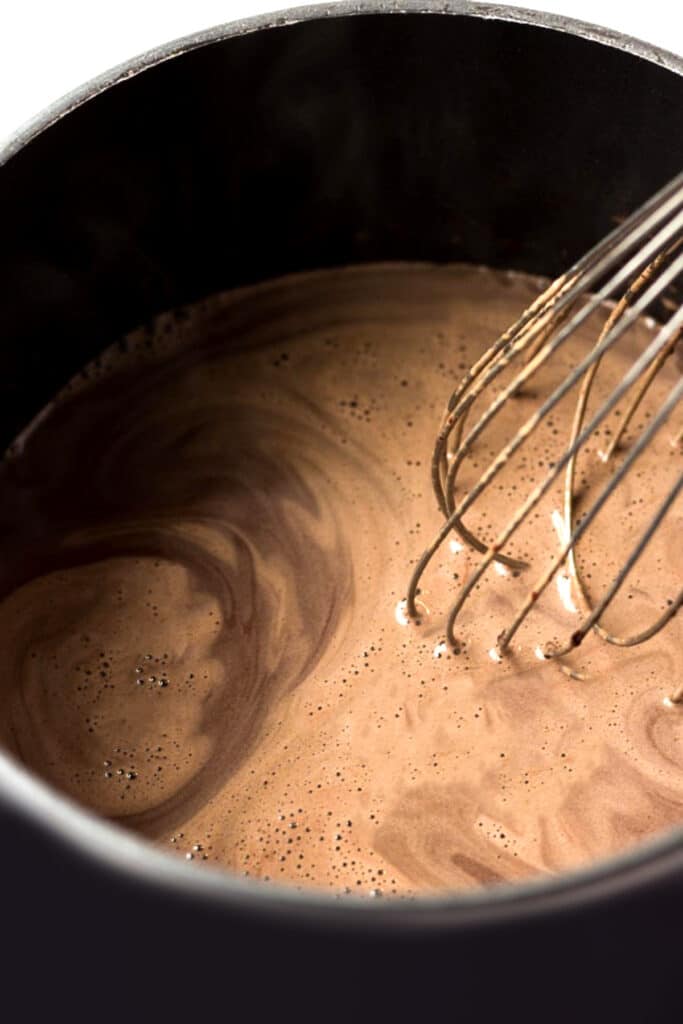
Whisking constantly, cook the mixture over medium-high heat until it comes to a simmer. Add the chocolate and butter. While continuing to mix, and bring to a boil. Reduce the heat and simmer while whisking until it thickens, about two to three minutes more.

Pour filling into the cooled crust and spread into an even layer.
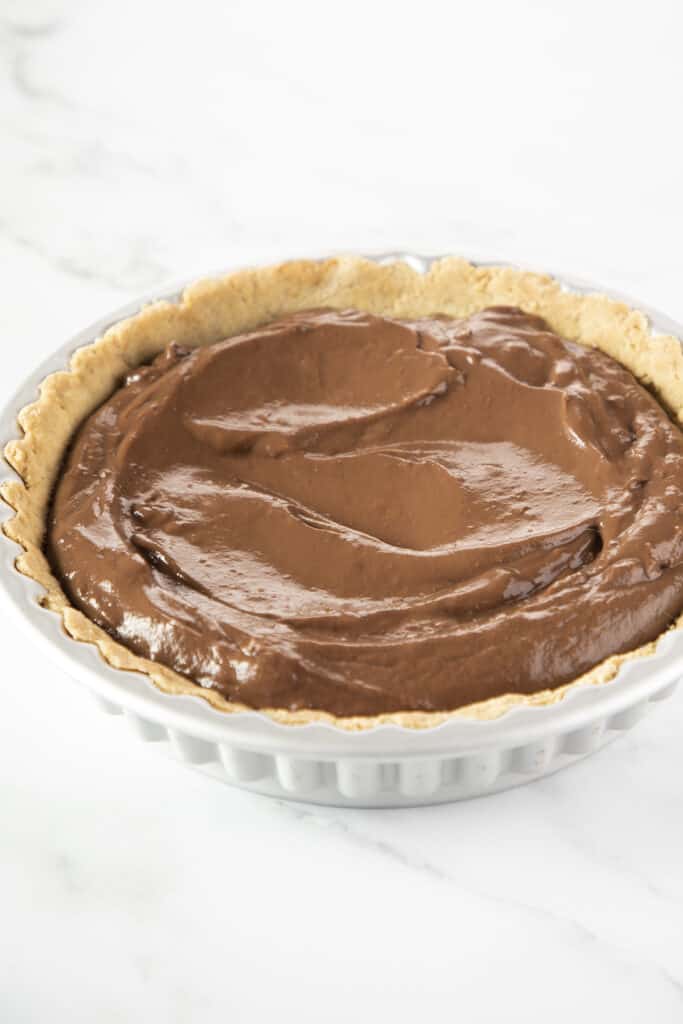
Place a piece of plastic wrap gently on top and refrigerate until filling is set, about 4–6 hours or overnight, if desired. Place a piece of plastic wrap directly onto the pudding and chill for 2 to 4 hours until cold.
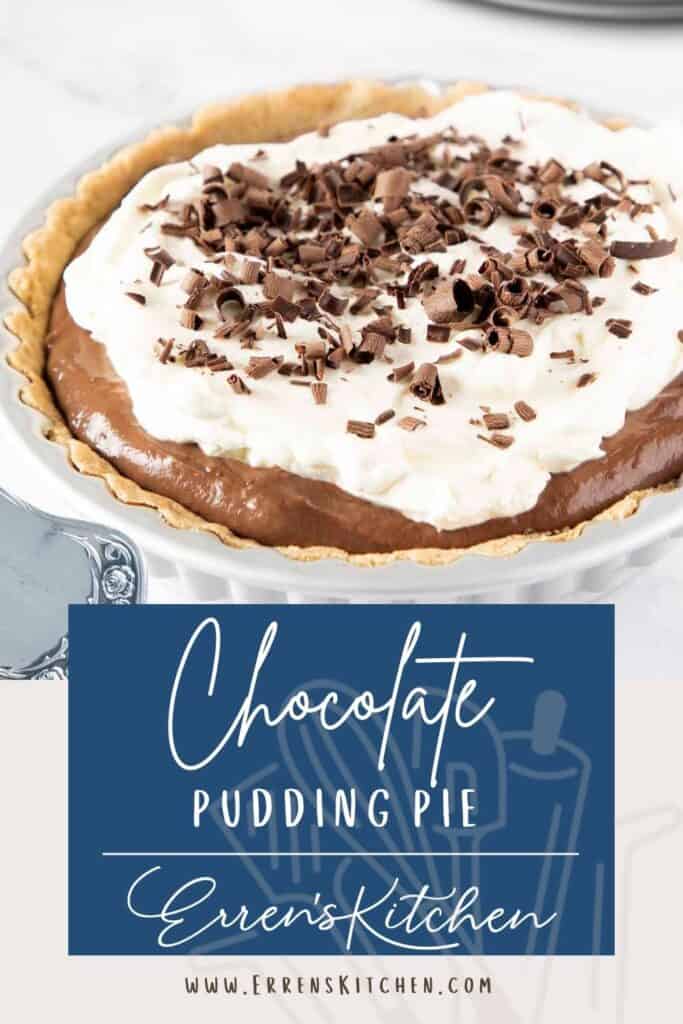
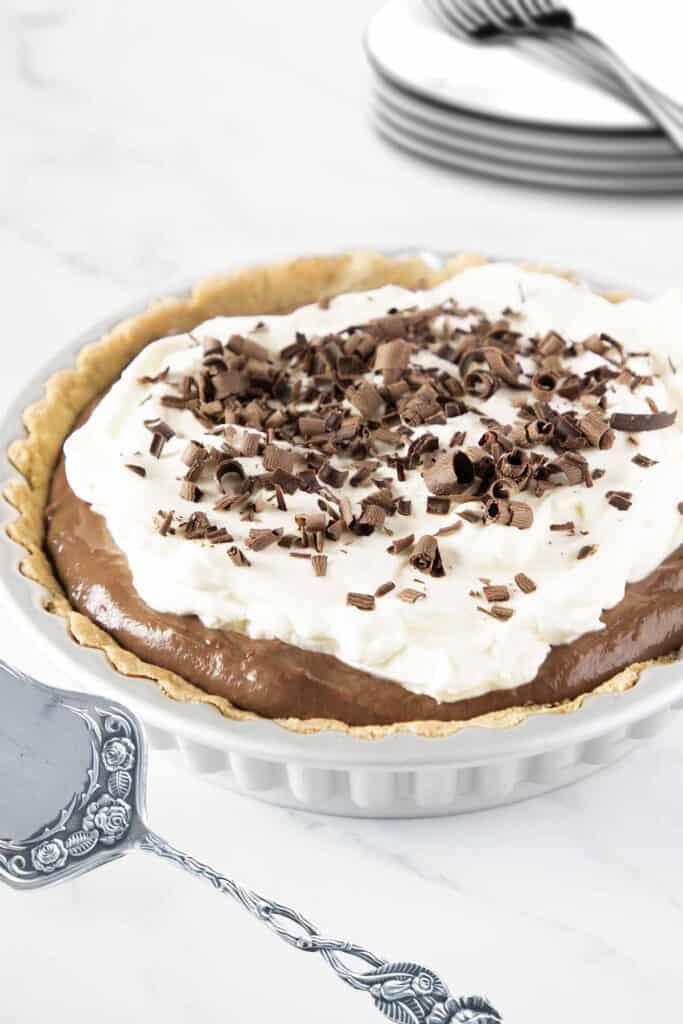
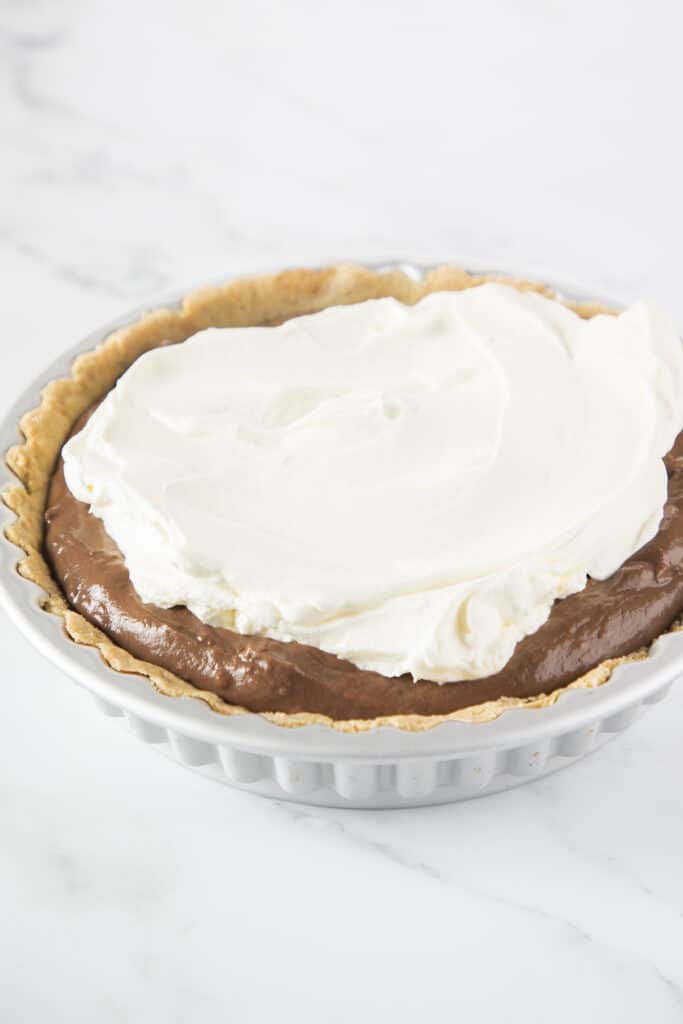
Once chilled, top with whipped cream.
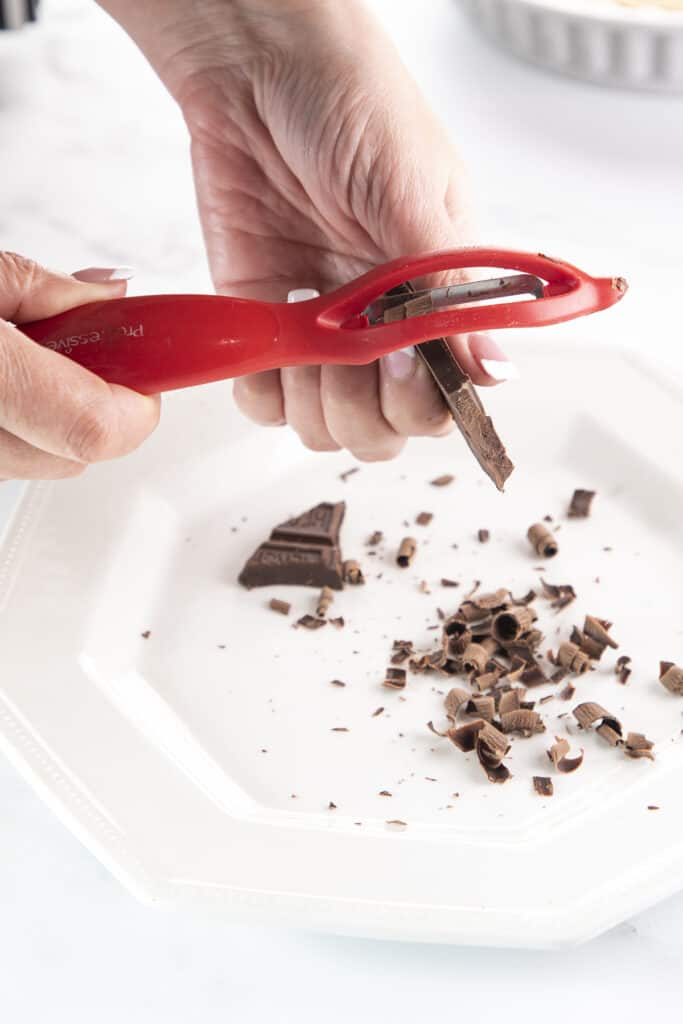
Make the chocolate curls by using a vegetable peeler and a room temperate chocolate bar. Just peel strips from the side of the bar. The strips will naturally curl as you go. Turn the bar as the chocolate warms in your hands.
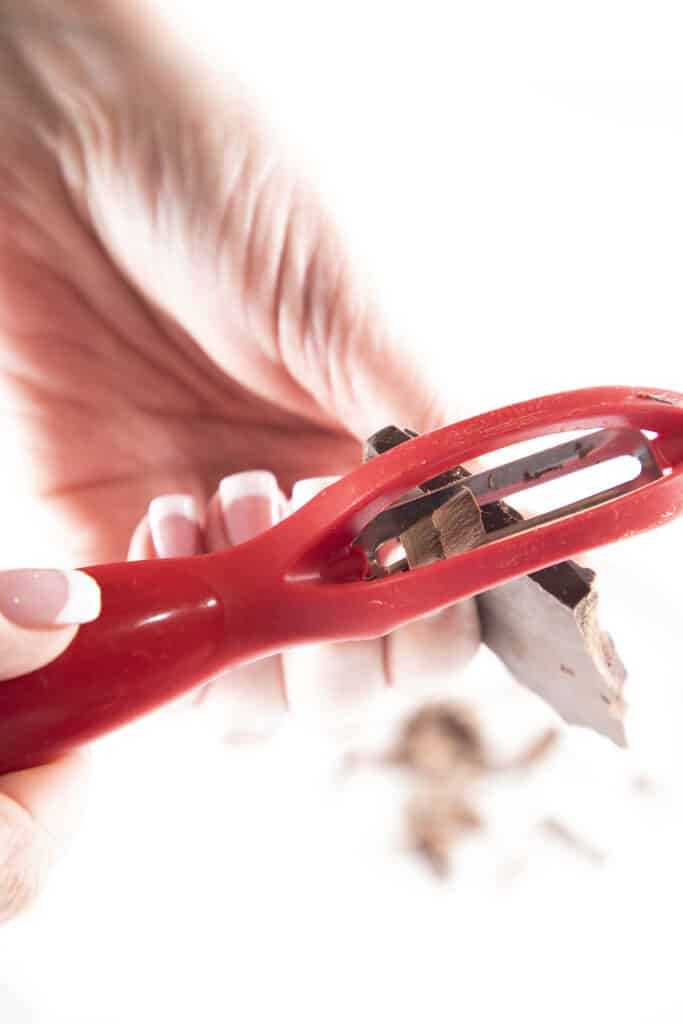
If you’re having difficulty achieving a curl, try placing the chocolate in the microwave for ten seconds.
Peel chocolate curls onto a flat plate. They will be very delicate so try not to handle them until you’re ready to use them. Store in refrigerator to keep them firm.
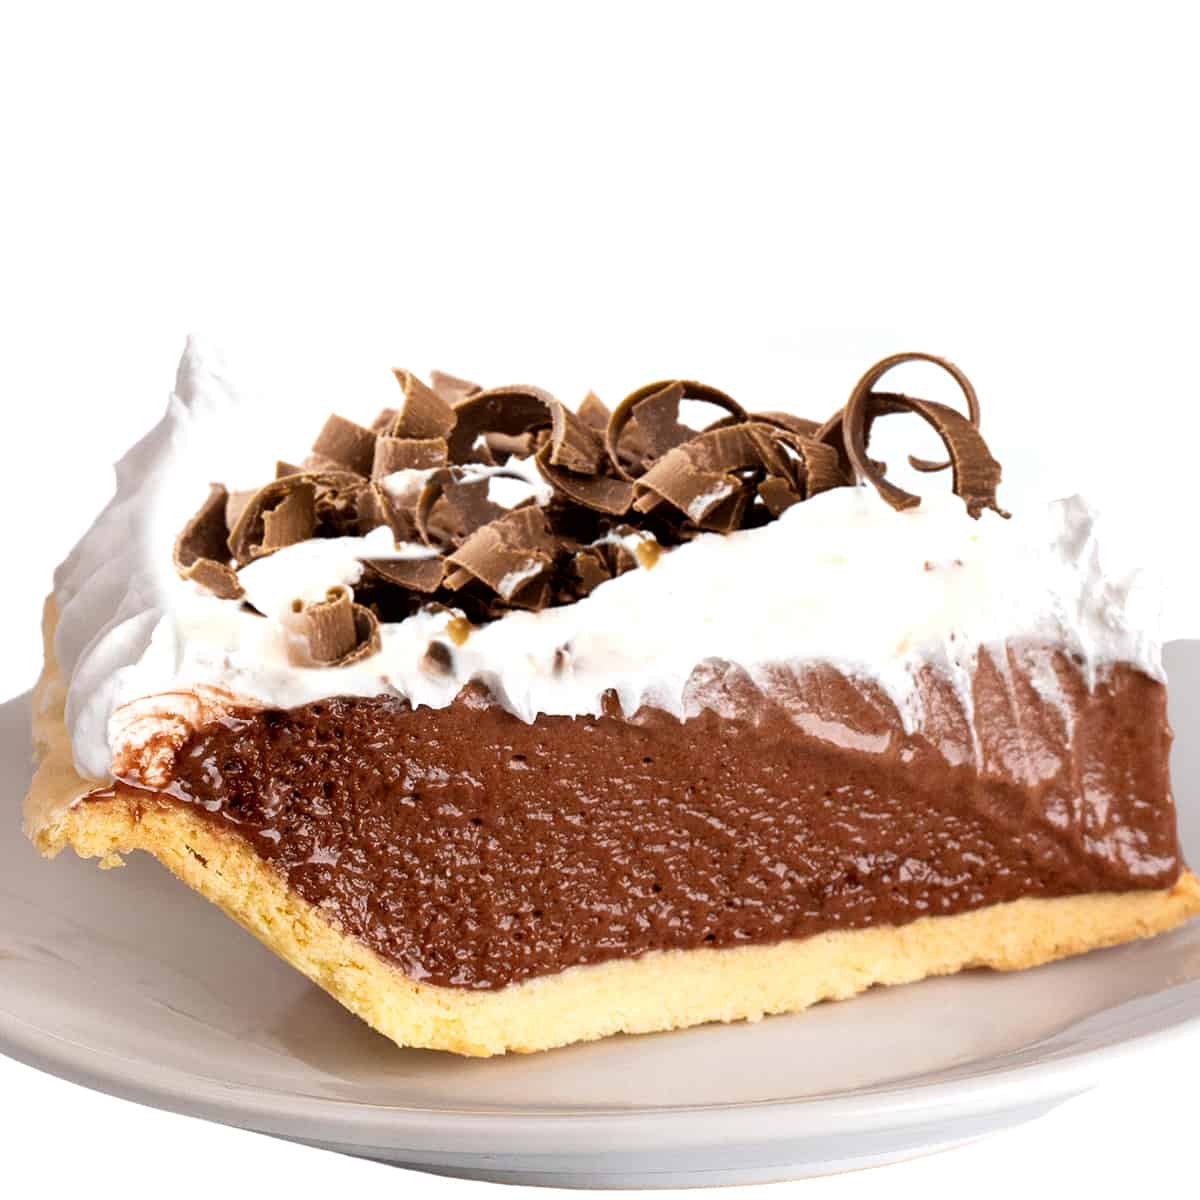
Sprinkle the chocolate curls over the top of the pie before serving.
Enjoy every last bite.
Erren’s Top Tips
- If you’re using store-bought pudding mix , prepare it using heavy or whipping cream instead of milk for a thicker pudding.
- Bring the mixture to a full boil – Cornstarch will only thicken when the liquid comes to a boil. Stir constantly to prevent the mixture from burning.
- Use a whisk instead of a spoon – Whisking your ingredients will stop any lumps from forming.
- Buy the best quality chocolate you can afford , as it will make a big difference to the flavor of your filling.
- Don’t skip the plastic wrap . If it doesn’t touch the pudding as it cools, your filling will form a skin.
- Don’t have plastic wrap? Using butter wrappers is a thrifty replacement. Just be sure to have enough to cover the whole surface.
- If you use store-bought whipped cream , add it just before serving, as it won’t hold up for long periods.

Ingredients
- ▢ 1 9-inch tart shell (see post for suggestions)
- ▢ 2 ½ cups heavy cream
- ▢ ⅓ cup granulated sugar
- ▢ ¼ cup cocoa powder
- ▢ 2 tablespoons cornstarch
- ▢ 6 large egg yolks
- ▢ 2 teaspoons pure vanilla extract
- ▢ 1 teaspoon espresso powder* (optional)
- ▢ ¼ teaspoon salt
- ▢ 4 tablespoons salted butter (cubed)
- ▢ 8 ounces good-quality semi-sweet chocolate (chopped)
- ▢ 2 cups whipped cream
- ▢ Chocolate curls ( for topping (optional))
Instructions
- Whisk together the cream, sugar, cocoa powder, cornstarch, egg yolks, vanilla, espresso powder, and salt in a saucepan. Cook over medium-high heat, constantly whisking, until the mixture comes to a simmer.
- Add the chocolate and butter.
- Whisking constantly, cook the mixture over medium-high heat until it comes to a simmer. Add the chocolate while continuing to mix, and bring to a boil. Reduce the heat and simmer while whisking until it thickens, about 2 to 3 minutes more.
- Pour filling into the cooled crust and spread into an even layer. Place a piece of plastic wrap directly onto the pudding and refrigerate for at least 4 hours or until set.
- Once chilled, top with whipped cream and chocolate curls.
Tips
Tips
- If you’re using store-bought pudding mix , prepare it using heavy or whipping cream instead of milk for a thicker pudding.
- Bring the mixture to a full boil – Cornstarch will only thicken when the liquid comes to a boil. Stir constantly to prevent the mixture from burning.
- Use a whisk instead of a spoon – Whisking your ingredients will stop any lumps from forming.
- Buy the best quality chocolate you can afford , as it will make a big difference to the flavor of your filling.
- Don’t skip the plastic wrap . If it doesn’t touch the pudding as it cools, your filling will form a skin.
- Don’t have plastic wrap? Using butter wrappers is a thrifty replacement. Just be sure to have enough to cover the whole surface.
- If you use store-bought whipped cream , add it just before serving, as it won’t hold up for long periods.
Crust Options
Nutrition

Chocolate Pudding Pie
Ingredients
- 1 9-inch tart shell see post for suggestions
- 2 ½ cups heavy cream
- ⅓ cup granulated sugar
- ¼ cup cocoa powder
- 2 tablespoons cornstarch
- 6 large egg yolks
- 2 teaspoons pure vanilla extract
- 1 teaspoon espresso powder* optional
- ¼ teaspoon salt
- 4 tablespoons salted butter cubed
- 8 ounces good-quality semi-sweet chocolate chopped
- 2 cups whipped cream
- Chocolate curls for topping (optional)
Instructions
- Whisk together the cream, sugar, cocoa powder, cornstarch, egg yolks, vanilla, espresso powder, and salt in a saucepan. Cook over medium-high heat, constantly whisking, until the mixture comes to a simmer.
- Add the chocolate and butter.
- Whisking constantly, cook the mixture over medium-high heat until it comes to a simmer. Add the chocolate while continuing to mix, and bring to a boil. Reduce the heat and simmer while whisking until it thickens, about 2 to 3 minutes more.
- Pour filling into the cooled crust and spread into an even layer. Place a piece of plastic wrap directly onto the pudding and refrigerate for at least 4 hours or until set.
- Once chilled, top with whipped cream and chocolate curls.
Notes
Tips
- If you’re using store-bought pudding mix , prepare it using heavy or whipping cream instead of milk for a thicker pudding.
- Bring the mixture to a full boil - Cornstarch will only thicken when the liquid comes to a boil. Stir constantly to prevent the mixture from burning.
- Use a whisk instead of a spoon - Whisking your ingredients will stop any lumps from forming.
- Buy the best quality chocolate you can afford , as it will make a big difference to the flavor of your filling.
- Don’t skip the plastic wrap . If it doesn’t touch the pudding as it cools, your filling will form a skin.
- Don’t have plastic wrap? Using butter wrappers is a thrifty replacement. Just be sure to have enough to cover the whole surface.
- If you use store-bought whipped cream , add it just before serving, as it won’t hold up for long periods.
Crust Options
Nutrition
Thank you for visiting Erren’s Kitchen!
