<img loading=“lazy” src=“https://www.errenskitchen.com/wp-content/uploads/2024/10/Black-Velvet-Cake-1-1-683x1024.jpg" onerror=“this.onerror=null;this.src=‘https://blogger.googleusercontent.com/img/a/AVvXsEhe7F7TRXHtjiKvHb5vS7DmnxvpHiDyoYyYvm1nHB3Qp2_w3BnM6A2eq4v7FYxCC9bfZt3a9vIMtAYEKUiaDQbHMg-ViyGmRIj39MLp0bGFfgfYw1Dc9q_H-T0wiTm3l0Uq42dETrN9eC8aGJ9_IORZsxST1AcLR7np1koOfcc7tnHa4S8Mwz_xD9d0=s16000';" alt=“A close-up of a glossy Black Velvet Cake on a clear platter. The cake, dark with a shiny glaze, creates a striking appearance. The image includes text: “Erin’s Kitchen” and “Black Velvet Cake” with the website URL: www.errenskitchen.com. - 1”>
<img loading=“lazy” src=“https://www.errenskitchen.com/wp-content/uploads/2024/10/Black-Velvet-Cake-2-683x1024.jpg" onerror=“this.onerror=null;this.src=‘https://blogger.googleusercontent.com/img/a/AVvXsEhe7F7TRXHtjiKvHb5vS7DmnxvpHiDyoYyYvm1nHB3Qp2_w3BnM6A2eq4v7FYxCC9bfZt3a9vIMtAYEKUiaDQbHMg-ViyGmRIj39MLp0bGFfgfYw1Dc9q_H-T0wiTm3l0Uq42dETrN9eC8aGJ9_IORZsxST1AcLR7np1koOfcc7tnHa4S8Mwz_xD9d0=s16000';" alt=“A close-up of a glossy Black Velvet Cake, its shiny glaze captivating in a promotional image for Erren’s Kitchen. The elegant text reads “Black Velvet Cake,” inviting you to explore more at www.errenskitchen.com. - 2”>
<img loading=“lazy” src=“https://www.errenskitchen.com/wp-content/uploads/2024/10/Black-Velvet-Cake-3-683x1024.jpg" onerror=“this.onerror=null;this.src=‘https://blogger.googleusercontent.com/img/a/AVvXsEhe7F7TRXHtjiKvHb5vS7DmnxvpHiDyoYyYvm1nHB3Qp2_w3BnM6A2eq4v7FYxCC9bfZt3a9vIMtAYEKUiaDQbHMg-ViyGmRIj39MLp0bGFfgfYw1Dc9q_H-T0wiTm3l0Uq42dETrN9eC8aGJ9_IORZsxST1AcLR7np1koOfcc7tnHa4S8Mwz_xD9d0=s16000';" alt=“A close-up of Black Velvet Cake cupcakes with sparkling black frosting, each topped with a glittery bat decoration. The image features a logo of a kitchen utensil set, alongside text reading “Black Velvet Cake”, and “www.errenskitchen.com” elegantly displayed at the bottom. - 3”>
<img loading=“lazy” src=“https://www.errenskitchen.com/wp-content/uploads/2024/10/Black-Velvet-Cake-1-1-683x1024.jpg" onerror=“this.onerror=null;this.src=‘https://blogger.googleusercontent.com/img/a/AVvXsEhe7F7TRXHtjiKvHb5vS7DmnxvpHiDyoYyYvm1nHB3Qp2_w3BnM6A2eq4v7FYxCC9bfZt3a9vIMtAYEKUiaDQbHMg-ViyGmRIj39MLp0bGFfgfYw1Dc9q_H-T0wiTm3l0Uq42dETrN9eC8aGJ9_IORZsxST1AcLR7np1koOfcc7tnHa4S8Mwz_xD9d0=s16000';" alt=“A close-up of a glossy Black Velvet Cake on a clear platter. The cake, dark with a shiny glaze, creates a striking appearance. The image includes text: “Erin’s Kitchen” and “Black Velvet Cake” with the website URL: www.errenskitchen.com. - 8”>

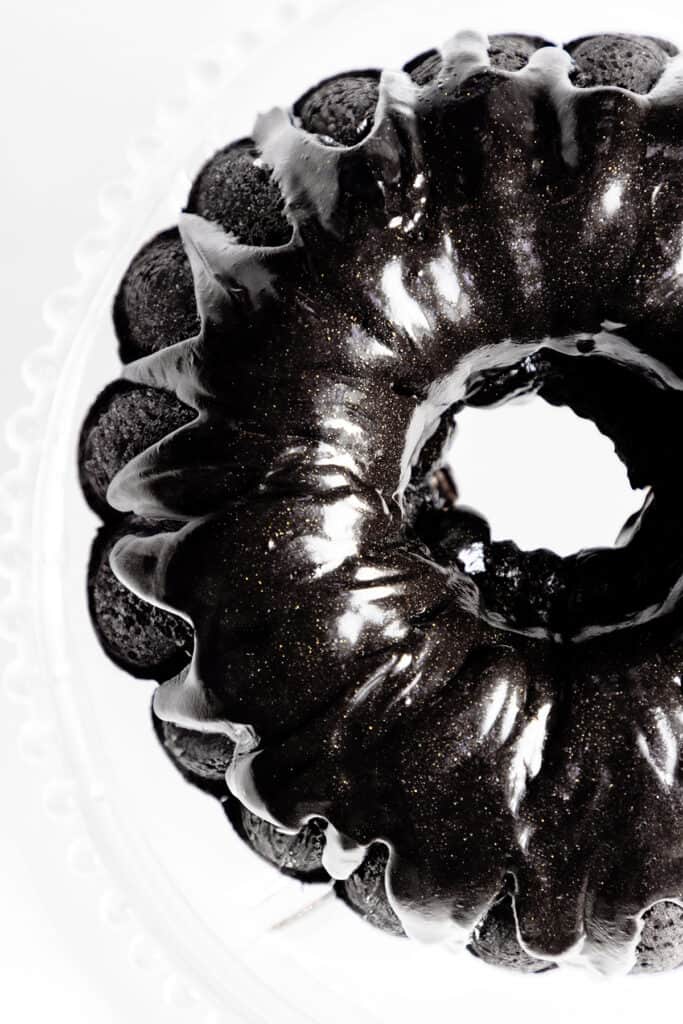
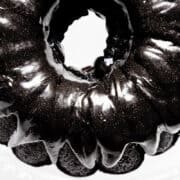
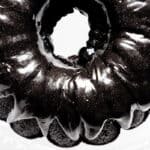
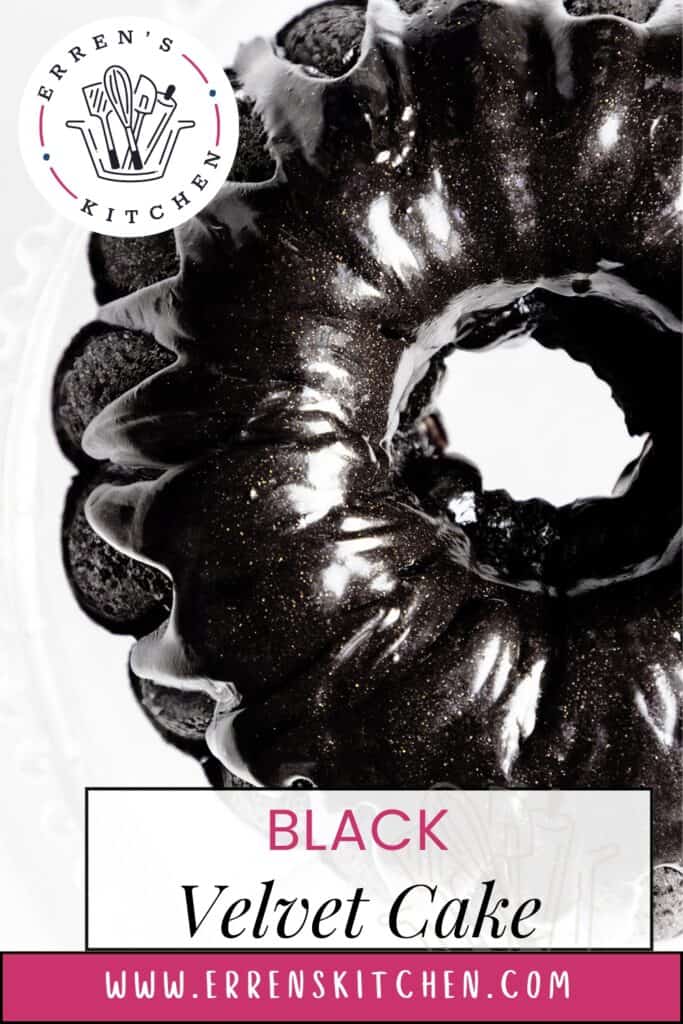
This Black Velvet Cake is truly a showstopper! It’s rich, moist, and infused with intense cocoa flavor! Pair it with our Shiny Black Glaze for a stunning and delicious cake!
in this article:
- What Is Black Velvet Cake
- What You’ll Need
- Where To Buy Black Cocoa Powder
- Achieving The Blackest Color
- How To Make Black Velvet Cake
- Make It Your Own
- Erren’s Top Tips
- Storage & Freezing Instructions ❄
- Black Velvet Cake
What Is Black Velvet Cake
Black velvet cake combines the moist richness of red velvet cake with the dark flavor of chocolate cake. Made similarly to red velvet, it uses less cocoa powder than a regular chocolate cake. Adding vinegar and buttermilk gives it a light, tender texture.
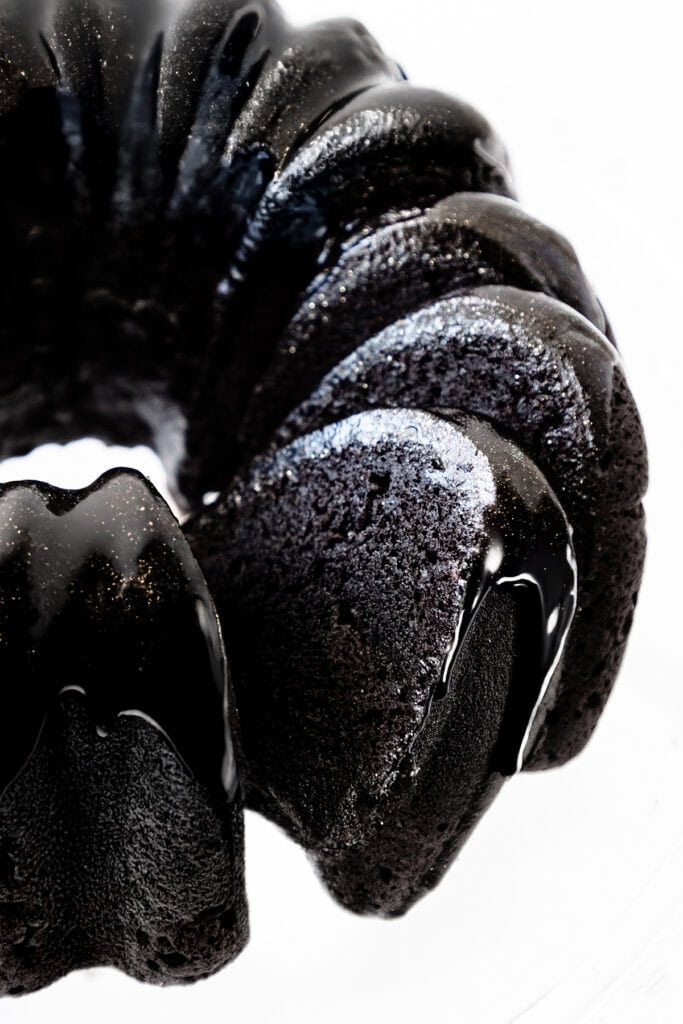
This cake is extra rich and moist without being as dense as some chocolate cakes.
What makes black velvet cake unique is the use of black cocoa powder. This special cocoa gives the cake its dark color and deep flavor. The cocoa powder goes through a process that removes acidity, creating a smooth, rich taste without bitterness. It also has about half the fat of regular cocoa powder, making the cake a bit lighter.
The final result is a striking, dark cake with a bold chocolate taste. The black cocoa balances out the sweetness, giving the cake a rich flavor without being too intense.
What You’ll Need
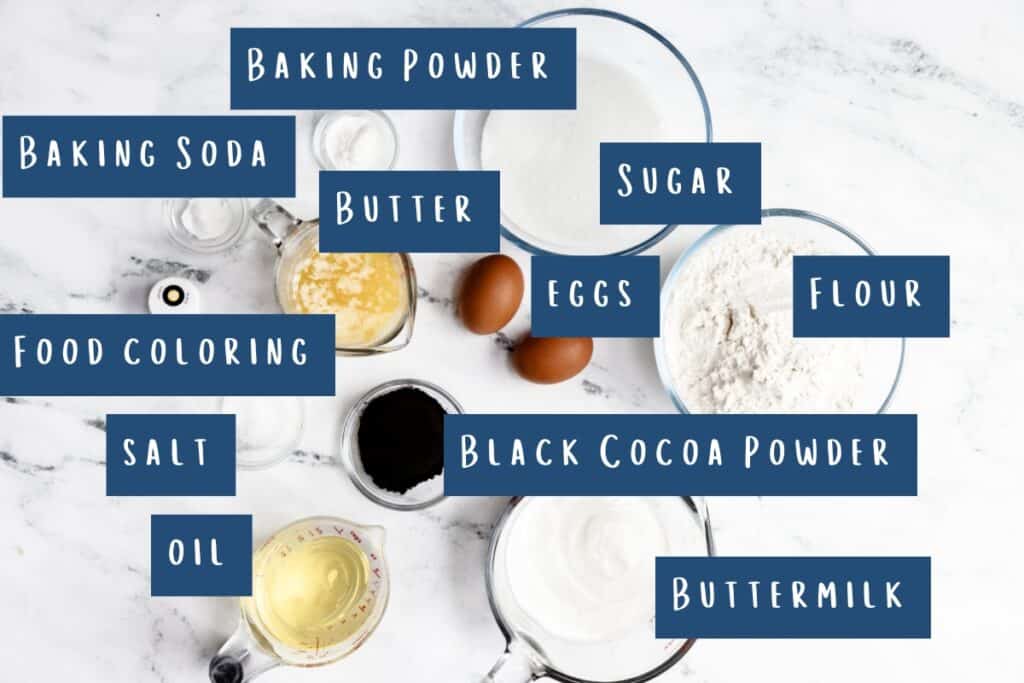
- Sugar: Granulated and super-fine caster sugar are both great options for this recipe.
- Flour : All-purpose flour works well for a tender crumb; cake flour could be substituted for a lighter texture.
- Cocoa Powder: Black Cocoa Powder is the star of the recipe. It gives the cake its rich color and deep chocolate flavor. Dutch-processed cocoa and black food coloring are good alternatives if you can’t find black cocoa.
- Buttermilk : Keeps the cake moist and adds a slight tang. If you don’t have buttermilk, you can substitute it by adding a tablespoon of vinegar or lemon juice to regular milk and letting it sit for a few minutes.
- Oil: Use a neutral oil such as canola or vegetable oil.
- Butter : Use unsalted butter to control salt levels.
- Vinegar: I use white vinegar, but apple cider and red wine vinegar also work .
- Vanilla : Vanilla extract or vanilla bean paste are both great choices.
- Black Food Coloring Gel: I find black food coloring gel works best, but when I shot the video, I used liquid food coloring, but it took a lot more to get an intense color.
Where To Buy Black Cocoa Powder
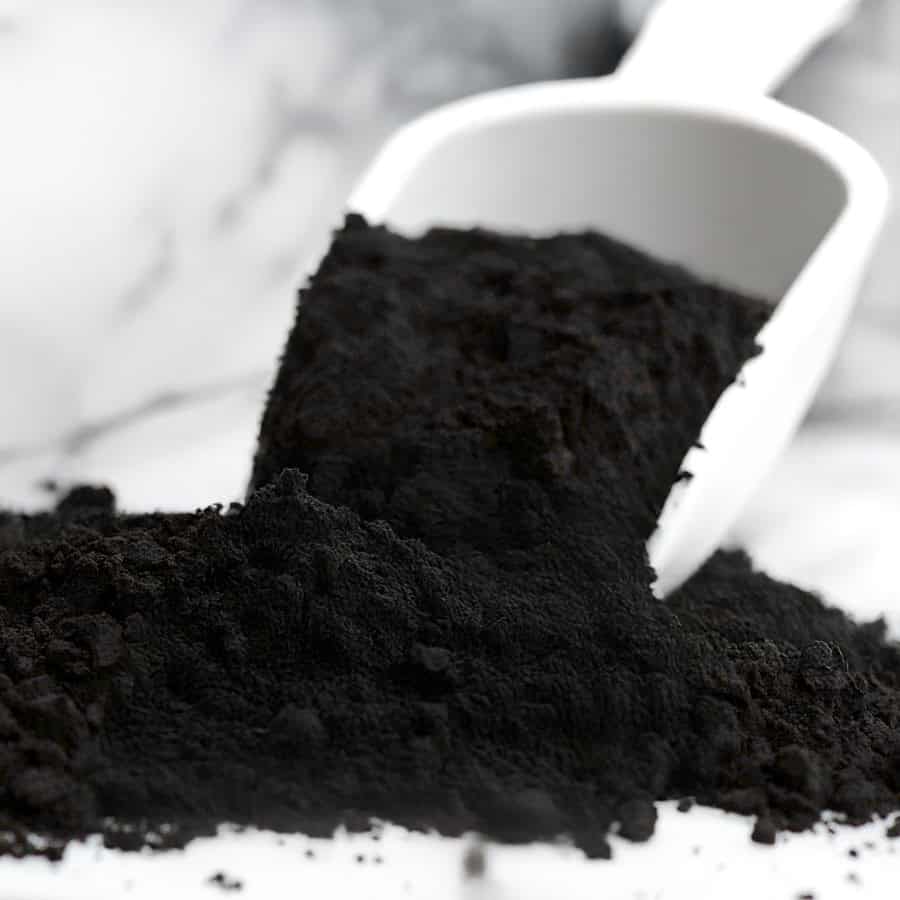
Achieving The Blackest Color
Depending on the brand you buy, some black cocoa powder may have undertones of red or orange, so black food coloring may be necessary to get a true black. I find black food coloring gel works best. I used liquid food coloring when I shot the video, but it took a lot to get an intense color, and too much food coloring can affect the flavor of the cake .
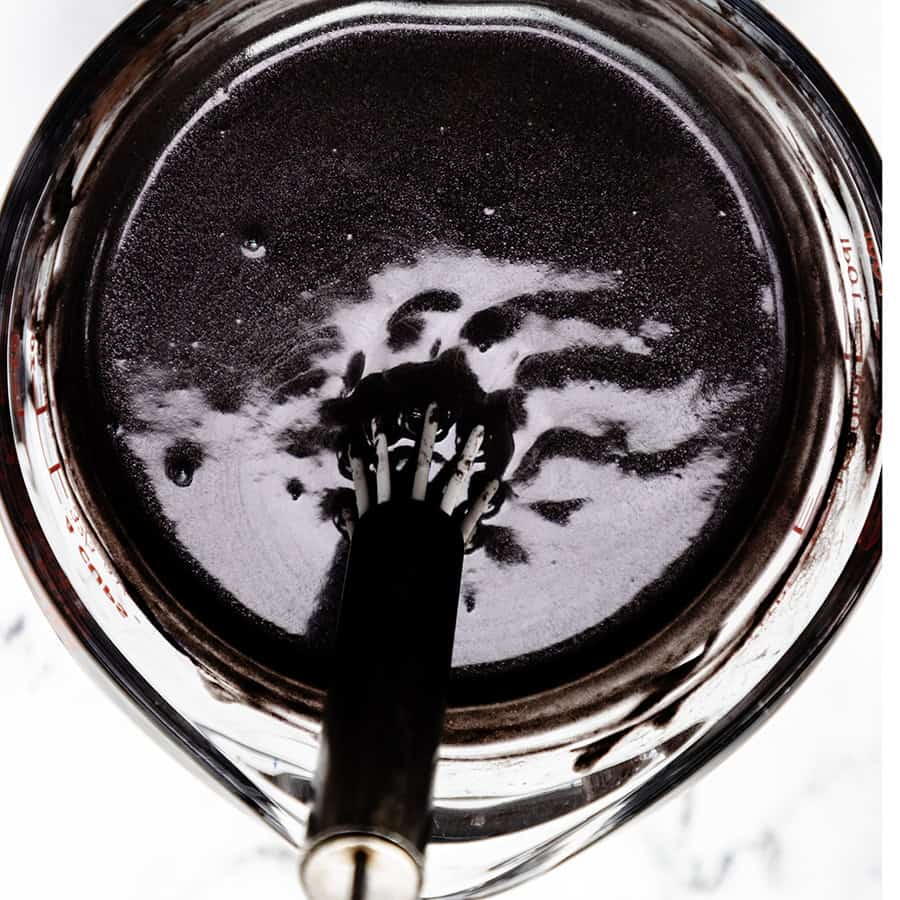
I mix the liquid ingredients with the cocoa powder before adding it to the dry ingredients, as it allows you to get the best color without overmixing the batter. Once it’s mixed in, if the color isn’t a deep black, add the food coloring until you get a deep black.
JUMP TO RECIPE
How To Make Black Velvet Cake
You can find the full, printable recipe at the bottom of this post (click the button above), but you can read a summary with step-by-step instructions and photos for each step below.
I made my cake as a bundt, but the recipe card offers instructions for a layer cake and cupcakes.
Preheat and prepare the pan : Preheat your oven to 325°F (163°C) and grease your Bundt pan thoroughly. Greasing the pan ensures the cake doesn’t stick and comes out in one piece.
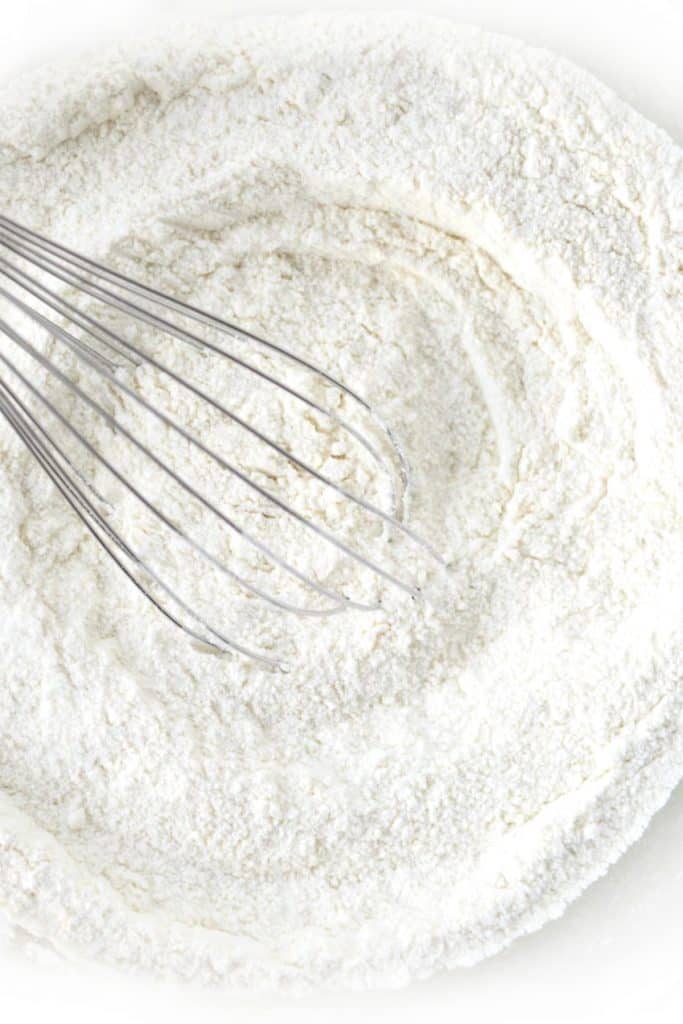
Mix the dry ingredients : In a large bowl, sift the flour, sugar, baking powder, baking soda, and salt together. Sifting helps eliminate lumps and combines the ingredients evenly.
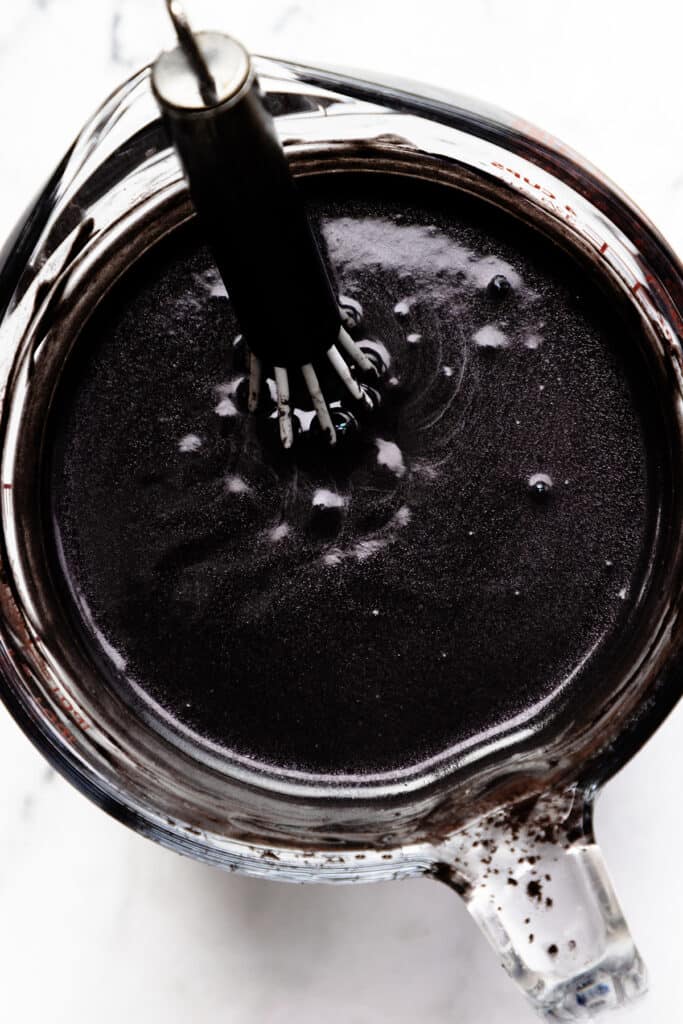
Combine the wet ingredients in a separate bowl with the black cocoa powder. If the color isn’t a deep enough black, add black food coloring gel a little at a time until you achieve a deep black.
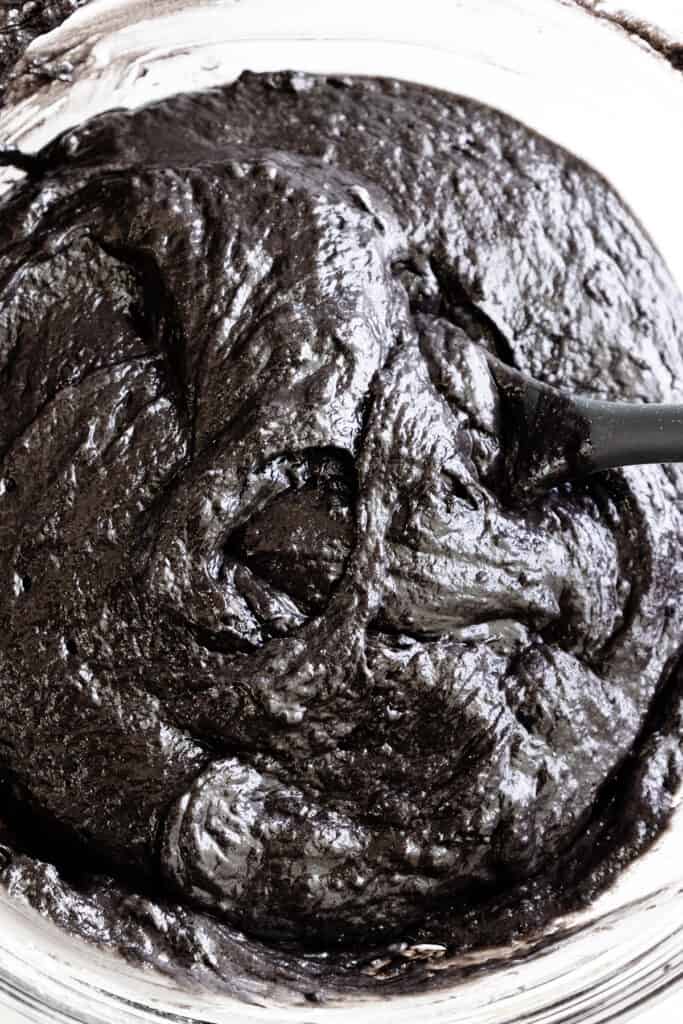
Mix wet and dry ingredients : Slowly incorporate the wet mixture into the dry ingredients. Stir gently to avoid overmixing, which can make the cake dense.
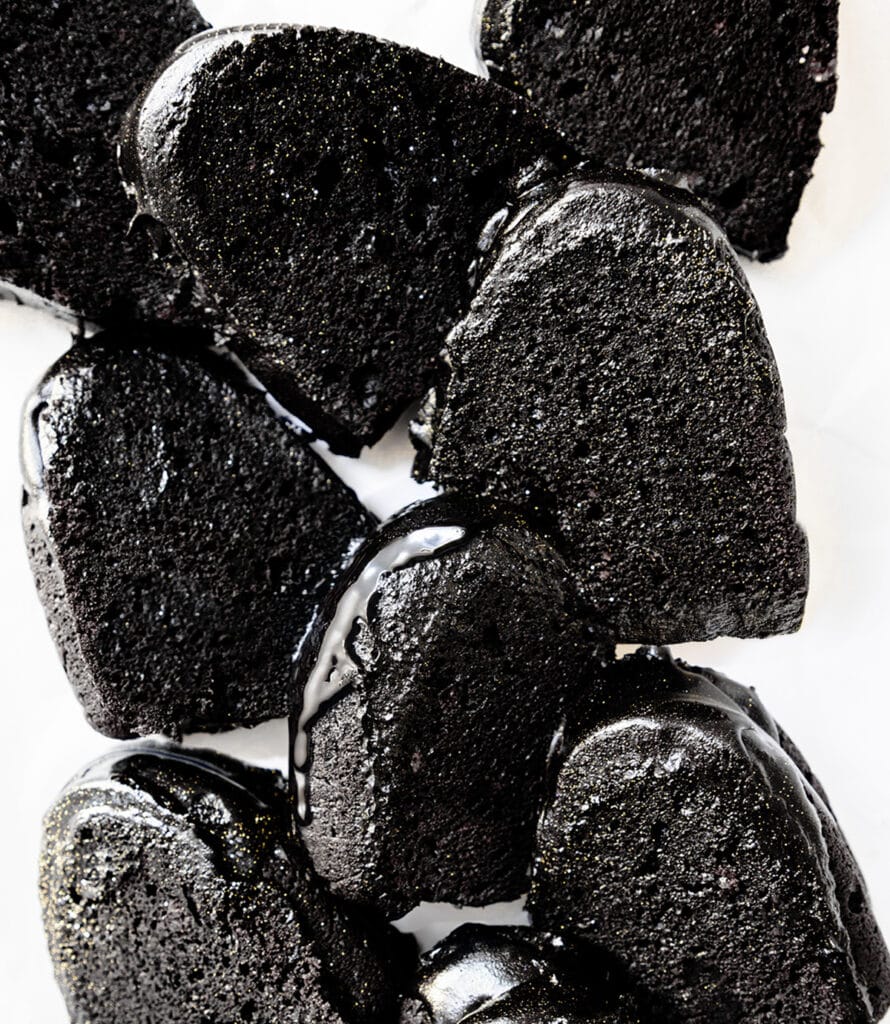
Bake : Pour the batter into your prepared pan and bake for 50 to 75 minutes. The cake is ready when a tester inserted into the center comes out clean. Let the cake cool in the pan for 10 minutes, then transfer it to a cooling rack.
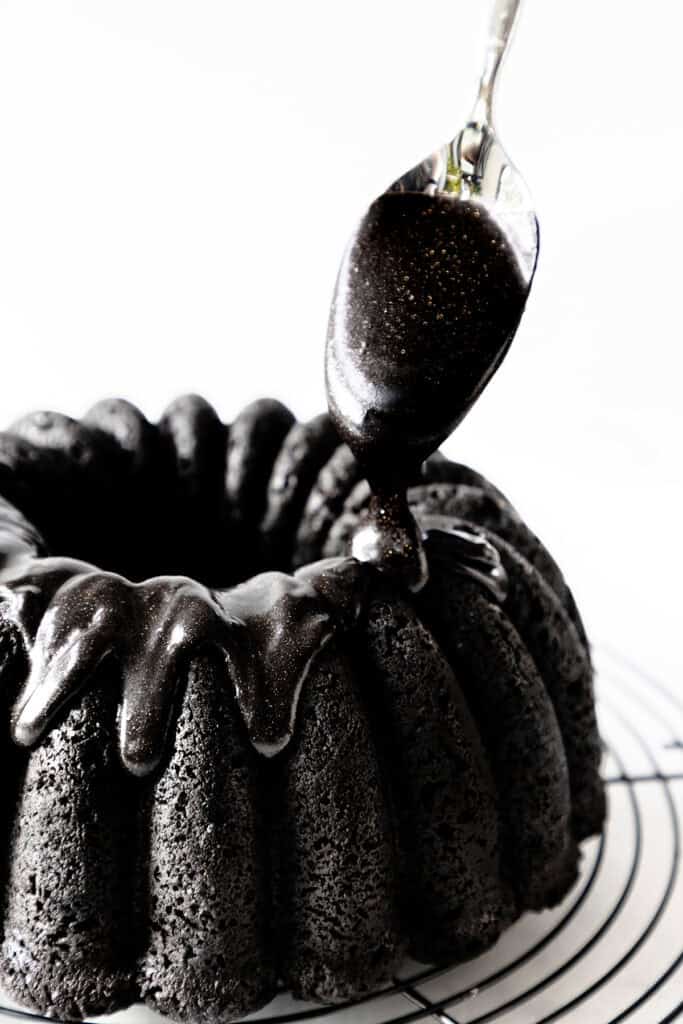
Glaze: Once the cake is completely cool, glaze it with your preferred Icing. I used my Shiny Black Glaze (which is cream cheese based), but you can use any icing you choose.
Make It Your Own
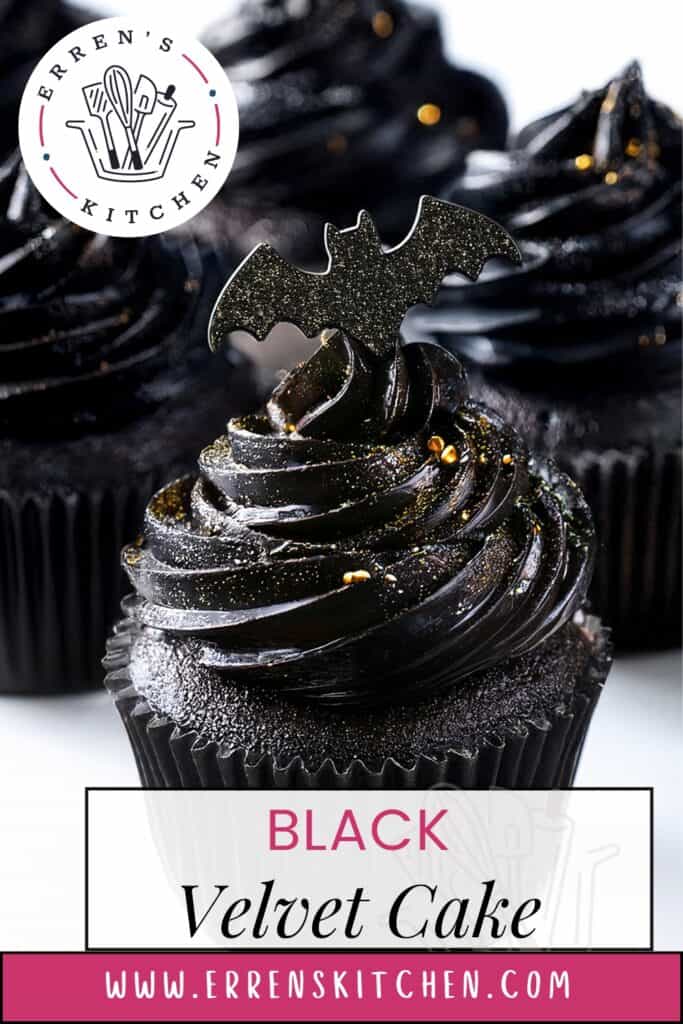
I made my black velvet cake as a bundt cake, but the recipe also has baking times for cupcakes and a layer cake.
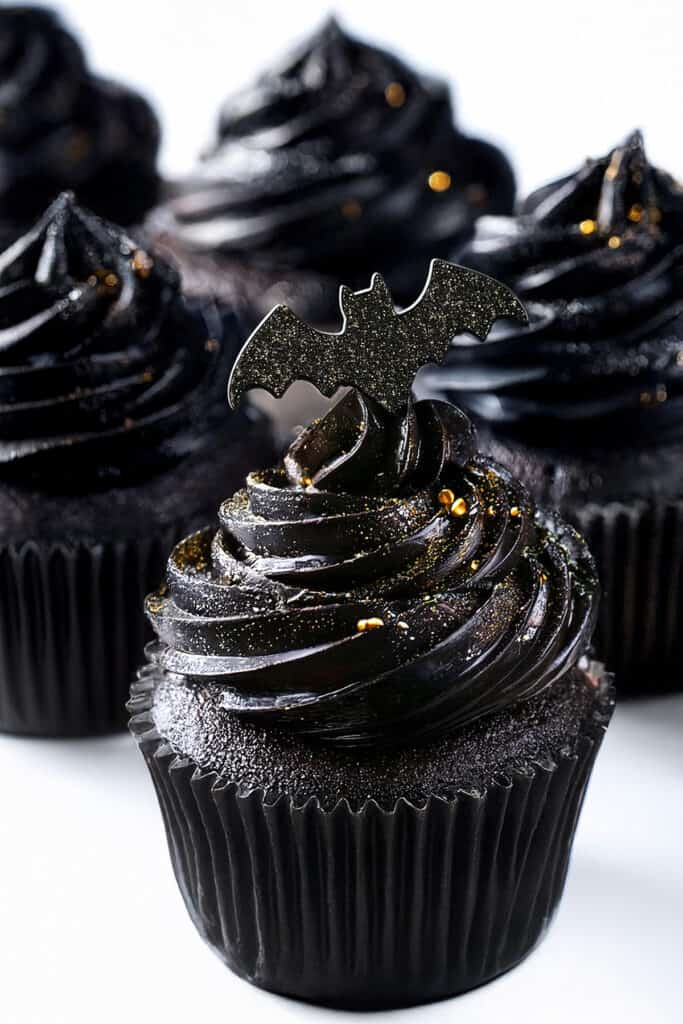
The photo below shows how you can make striking Halloween cupcakes, too. I made mine with my chocolate ganache frosting and added black food coloring gel.
Erren’s Top Tips
- For a smooth batter , ensure the buttermilk, eggs, and melted butter are at room temperature. Cold ingredients can cause the batter to clump or not mix well.
- Mix all wet ingredients thoroughly before adding dry ingredients. This helps prevent overmixing, which can lead to a dense cake.
- If using black food coloring gel, add it slowly until you achieve the desired shade. This prevents over-coloring and keeps the taste neutral.
- Grease pans thoroughly, especially for the Bundt cake, to ensure the cake is released cleanly. You can dust with a bit of cocoa powder instead of flour for a cleaner look.
- Stir until ingredients are just combined and no dry flour is visible. Overmixing can cause the cake to become tough and lose its tender texture.
- Check your cake or cupcakes a few minutes before the recommended time to avoid overbaking. Cakes should spring back when touched and a toothpick should come out clean or with just a few crumbs.
- Allow cakes to cool in the pan briefly, then fully cool on a rack. This prevents melting any glaze or frosting and keeps the cake moist.
- For Bundt cakes, let the cake rest in the pan for 10 minutes before turning it out. This helps prevent it from sticking and breaking.
Storage & Freezing Instructions ❄
Storage: Black velvet cake stores well at room temperature, covered, for up to 3 days.
Freezing Instructions: Wrap it tightly in plastic wrap, followed by aluminum foil, and freeze for up to 3 months. Thaw the cake at room temperature when ready to serve, and add the glaze once fully defrosted.
Rate This Recipe
Ingredients
- ▢ 1¾ cup granulated sugar
- ▢ 3 cups all-purpose/plain flour
- ▢ 1½ teaspoon baking powder
- ▢ ½ teaspoon baking soda
- ▢ 1 teaspoon salt
- ▢ 2 large eggs
- ▢ 2 cups buttermilk at room temperature
- ▢ 12 tablespoons butter (melted)
- ▢ 1 cup vegetable oil
- ▢ 1 teaspoon vinegar
- ▢ 2 teaspoons vanilla extract
- ▢ 4 tablespoons black cocoa powder
- ▢ 1 tablespoon black food coloring gel (as needed)
Instructions
- Preheat the oven to 350°F (177°C) and grease a 10 or 12-cup bundt cake or two 9-inch pans for a layer cake. For cupcakes, line two 12 section cupcake pans with liners.
- In a large mixing bowl, combine the buttermilk, eggs, melted butter, vegetable oil, vinegar, vanilla extract, and black cocoa powder. Stir well until smooth and fully blended. Check the color of the mixture; if a deeper black is desired, add black food coloring gel a little at a time until the desired shade is reached.
- In a separate bowl, whisk together the granulated sugar, flour, baking powder, baking soda, and salt.
- Gradually add the dry ingredients to the wet mixture, stirring until fully combined. Scrape the sides and bottom of the bowl as you mix to ensure all ingredients are incorporated.
For A Bundt Cake
- Pour the batter into the greased 10 or 12-cup bundt pan and bake for 50 to 70 minutes or until a cake tester comes out clean.
- Let the cake cool in the pan for 10 minutes, then transfer it to a cooling rack to cool completely before glazing. Prepare the glaze and drizzle over the cooled cake. Then serve and enjoy.
For A Layer Cake
- For two 9-inch layer cakes, divide the batter evenly between the prepared cake pans. Bake for 30-35 minutes or until a toothpick inserted in the center comes out clean. Begin checking for doneness at 30 minutes.
- Allow cakes to cool in their pans for 10 minutes, then transfer them to a wire rack to cool completely before adding any frosting or glaze.
For Cupcakes
- Fill each cupcake liner about two-thirds full with batter. Bake for 18-22 minutes, or until a toothpick inserted in the center of a cupcake comes out clean. Begin checking for doneness at the 18-minute mark to avoid overbaking.
- Let the cupcakes cool in the pan for 5 to 10 minutes before transferring them to a wire rack to cool completely. Once cooled, they’re ready to be frosted or served as desired.
Tips
- For a smooth batter , ensure the buttermilk, eggs, and melted butter are at room temperature. Cold ingredients can cause the batter to clump or not mix well.
- Mix all wet ingredients thoroughly before adding dry ingredients. This helps prevent overmixing, which can lead to a dense cake.
- If using black food coloring gel, add it slowly until you achieve the desired shade. This prevents over-coloring and keeps the taste neutral.
- Grease pans thoroughly, especially for the Bundt cake, to ensure the cake is released cleanly. You can dust with a bit of cocoa powder instead of flour for a cleaner look.
- Stir until ingredients are just combined, and no dry flour is visible. Overmixing can cause the cake to become tough and lose its tender texture.
- Check your cake or cupcakes a few minutes before the recommended time to avoid overbaking. Cakes should spring back when touched, and a toothpick should come out clean or with just a few crumbs.
- Allow cakes to cool in the pan briefly, then fully cool on a rack. This prevents melting any glaze or frosting and keeps the cake moist.
- For Bundt cakes, let the cake rest in the pan for 10 minutes before turning it out. This helps prevent it from sticking and breaking.
Nutrition
Black Velvet Cake
Ingredients
- 1¾ cup granulated sugar
- 3 cups all-purpose/plain flour
- 1½ teaspoon baking powder
- ½ teaspoon baking soda
- 1 teaspoon salt
- 2 large eggs
- 2 cups buttermilk at room temperature
- 12 tablespoons butter melted
- 1 cup vegetable oil
- 1 teaspoon vinegar
- 2 teaspoons vanilla extract
- 4 tablespoons black cocoa powder
- 1 tablespoon black food coloring gel as needed
Instructions
- Preheat the oven to 350°F (177°C) and grease a 10 or 12-cup bundt cake or two 9-inch pans for a layer cake. For cupcakes, line two 12 section cupcake pans with liners.
- In a large mixing bowl, combine the buttermilk, eggs, melted butter, vegetable oil, vinegar, vanilla extract, and black cocoa powder. Stir well until smooth and fully blended. Check the color of the mixture; if a deeper black is desired, add black food coloring gel a little at a time until the desired shade is reached.
- In a separate bowl, whisk together the granulated sugar, flour, baking powder, baking soda, and salt.
- Gradually add the dry ingredients to the wet mixture, stirring until fully combined. Scrape the sides and bottom of the bowl as you mix to ensure all ingredients are incorporated.
For A Bundt Cake
- Pour the batter into the greased 10 or 12-cup bundt pan and bake for 50 to 70 minutes or until a cake tester comes out clean.
- Let the cake cool in the pan for 10 minutes, then transfer it to a cooling rack to cool completely before glazing. Prepare the glaze and drizzle over the cooled cake. Then serve and enjoy.
For A Layer Cake
- For two 9-inch layer cakes, divide the batter evenly between the prepared cake pans. Bake for 30-35 minutes or until a toothpick inserted in the center comes out clean. Begin checking for doneness at 30 minutes.
- Allow cakes to cool in their pans for 10 minutes, then transfer them to a wire rack to cool completely before adding any frosting or glaze.
For Cupcakes
- Fill each cupcake liner about two-thirds full with batter. Bake for 18-22 minutes, or until a toothpick inserted in the center of a cupcake comes out clean. Begin checking for doneness at the 18-minute mark to avoid overbaking.
- Let the cupcakes cool in the pan for 5 to 10 minutes before transferring them to a wire rack to cool completely. Once cooled, they’re ready to be frosted or served as desired.
Notes
- For a smooth batter , ensure the buttermilk, eggs, and melted butter are at room temperature. Cold ingredients can cause the batter to clump or not mix well.
- Mix all wet ingredients thoroughly before adding dry ingredients. This helps prevent overmixing, which can lead to a dense cake.
- If using black food coloring gel, add it slowly until you achieve the desired shade. This prevents over-coloring and keeps the taste neutral.
- Grease pans thoroughly, especially for the Bundt cake, to ensure the cake is released cleanly. You can dust with a bit of cocoa powder instead of flour for a cleaner look.
- Stir until ingredients are just combined, and no dry flour is visible. Overmixing can cause the cake to become tough and lose its tender texture.
- Check your cake or cupcakes a few minutes before the recommended time to avoid overbaking. Cakes should spring back when touched, and a toothpick should come out clean or with just a few crumbs.
- Allow cakes to cool in the pan briefly, then fully cool on a rack. This prevents melting any glaze or frosting and keeps the cake moist.
- For Bundt cakes, let the cake rest in the pan for 10 minutes before turning it out. This helps prevent it from sticking and breaking.
Nutrition
Thank you for visiting Erren’s Kitchen!
